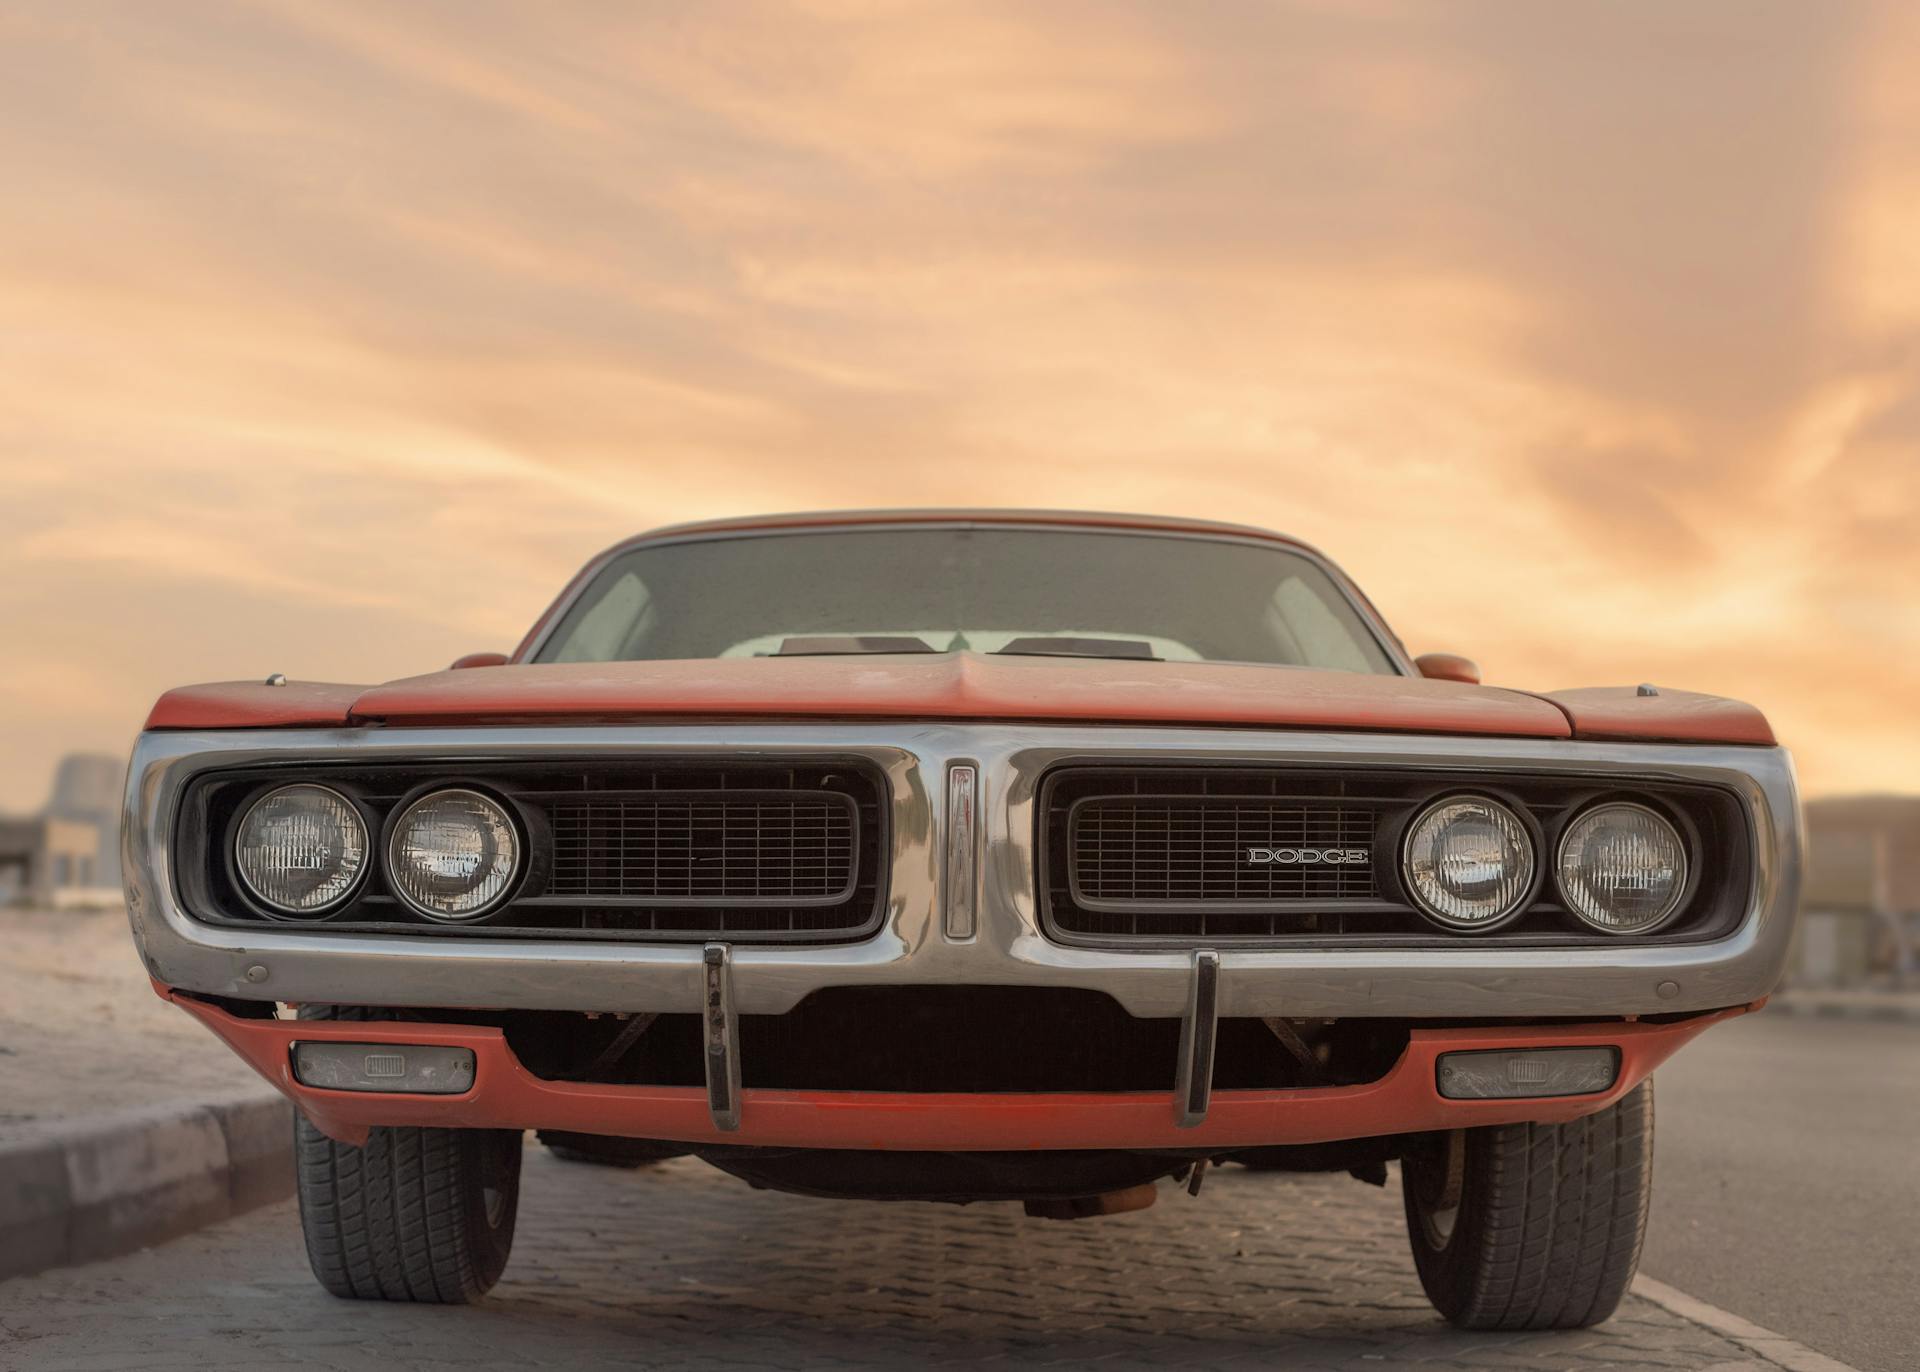
Want to tow with your Dodge Challenger? This guide outlines ten safe steps to tow light loads like jet skis or small trailers. Perfect for weekend adventures, these tips ensure you stay within the Challenger’s limits, protecting your muscle car while towing safely.
Safety Warning: The Dodge Challenger has a 1,000-lb towing limit for specific models. Exceeding this risks damage or accidents. Use proper equipment and follow manufacturer guidelines.
1. Confirm Your Challenger’s Towing Capacity
The Dodge Challenger’s towing capacity is limited, typically 1,000 lbs for models with automatic transmissions (3.5L, 3.6L, or 5.7L engines). Exceeding this can damage the transmission or frame.
Verifying capacity ensures safe towing. Here’s how to check it.
-
Check the manual. Confirm your model’s towing capacity (1,000 lbs for SXT, GT, R/T), costing $0 to review.
-
Avoid high-performance models. Hellcat, Demon, or manual transmission Challengers are not rated for towing.
-
Consider tongue weight. Stay under 100 lbs to prevent rear-end sag, avoiding $500-$2,000 in damage.
-
Verify with VIN. Use Dodge’s website to check your vehicle’s specs, taking 2-3 minutes.
2. Select a Compatible Hitch
Choosing a hitch rated for the Challenger’s 1,000-lb capacity is crucial. A proper hitch ensures a secure connection for light trailers like jet ski or canoe trailers.
A suitable hitch prevents accidents. Here’s how to select one.
-
Use a Class 1 or 2 hitch. Opt for a hitch rated for 1,000-2,000 lbs ($50-$200), matching the vehicle’s limit.
-
Choose a hidden hitch. Mopar’s bolt-on hitch avoids drilling, costing $100-$300, removable in 20 minutes.
-
Match the ball size. Use a 1-7/8 or 2-inch ball ($10-$30) to fit the trailer coupler.
-
Check frame bolts. Ensure the hitch uses factory frame holes, avoiding $200-$1,000 in repairs.
3. Install the Hitch Correctly
Proper hitch installation ensures a secure connection to the Challenger’s frame. Incorrect installation can damage the vehicle or cause trailer detachment during towing.
Correct setup enhances safety. Here’s how to install the hitch.
-
Follow manufacturer instructions. Bolt the hitch to frame holes per the manual, taking 20-30 minutes, costing $0-$50.
-
Use a professional. U-Haul or shops install hitches for $100-$300, ensuring proper alignment.
-
Check bolt tightness. Torque bolts to specs to prevent loosening, avoiding $100-$500 in damage.
-
Inspect for clearance. Ensure the hitch doesn’t scrape or interfere with the exhaust, costing $0 to verify.
4. Connect Trailer Wiring
Trailer wiring powers lights and brakes, ensuring visibility and compliance. The Challenger’s wiring harness is typically in the trunk, requiring proper connection.
Wiring ensures legal towing. Here’s how to set it up.
-
Access the harness. Remove the trunk’s rear threshold to find the wiring, taking 5-10 minutes.
-
Use a T-connector. Plug in a custom-fit connector ($20-$50) for trailer lights, avoiding electrical issues.
-
Run a hot lead. Connect the fuse holder to the battery for power, costing $0-$10.
-
Test lights. Confirm brake, turn, and running lights work, preventing $50-$200 fines.
5. Load the Trailer Properly
Proper trailer loading prevents swaying and maintains vehicle control. The Challenger’s low capacity requires light, balanced loads to avoid strain.
Balanced loading ensures stability. Here’s how to load correctly.
-
Stay under 1,000 lbs. Tow only light loads like jet skis (400-800 lbs), per capacity limits.
-
Distribute weight. Place 60% of weight forward, keeping tongue weight below 100 lbs, costing $0.
-
Secure cargo. Use tie-downs ($10-$30) to prevent shifting, avoiding $200-$1,000 in damage.
-
Check trailer level. Ensure the trailer sits level with the Challenger, adjusting as needed, taking 5-10 minutes.
6. Check Trailer Brakes and Lights
Trailers with brakes or lights must function properly to ensure safety and compliance. The Challenger’s limited capacity suits unbraked trailers, but checks are vital.
Testing prevents issues. Here’s how to verify brakes and lights.
-
Inspect trailer brakes. If equipped, ensure brakes engage with a controller ($50-$200), enhancing stopping.
-
Test all lights. Confirm brake, turn, and running lights work, fixing wiring ($20-$100) if needed.
-
Check brake controller. Adjust proportional controller settings for smooth stops, costing $0 to set.
-
Verify every trip. Spend 2-3 minutes checking lights and brakes before towing, avoiding fines.
7. Drive with Caution
Towing with a Challenger requires slow, smooth driving to protect the transmission and maintain control. Aggressive driving can strain the vehicle’s components.
Careful driving ensures safety. Here’s how to drive while towing.
-
Limit speed to 55 mph. Stay below 55-65 mph to reduce strain, saving 5-10% on fuel.
-
Increase following distance. Allow 2-3 times more space for braking, preventing collisions.
-
Disable overdrive. Turn off overdrive to reduce transmission wear, costing $0 to adjust.
-
Avoid steep inclines. Stick to flat routes to prevent $500-$2,000 in drivetrain damage.
8. Monitor Vehicle and Trailer
Constantly monitor the Challenger and trailer for stability and performance. Overheating or swaying can indicate issues, risking damage or accidents.
Vigilance maintains control. Here’s how to monitor effectively.
-
Check temperature gauge. Watch for overheating, stopping if the engine runs hot, costing $0 to observe.
-
Use mirrors. Monitor trailer alignment to detect swaying, slowing down if unstable.
-
Listen for noises. Stop for grinding or scraping, indicating loose hitches, avoiding $100-$500 repairs.
-
Pause every 50 miles. Inspect hitch, straps, and trailer, taking 5-10 minutes to ensure safety.
9. Comply with Legal Requirements
Towing regulations vary by state, covering weight, brakes, and lights. Compliance avoids fines and ensures safe towing with your Challenger.
Following laws protects you. Here’s how to stay compliant.
-
Verify weight limits. Keep loads under 1,000 lbs to meet state and manufacturer rules, avoiding $100-$500 fines.
-
Check brake laws. Unbraked trailers are okay for light loads, but confirm local regulations.
-
Ensure light functionality. Working trailer lights prevent $50-$200 fines, checked in 1-2 minutes.
-
Carry registration. Ensure trailer registration is current, avoiding $50-$200 penalties.
10. Inspect After Towing
After towing, inspect the Challenger and trailer for wear or damage. Early detection prevents costly repairs to the transmission, hitch, or frame.
Post-tow checks ensure reliability. Here’s how to inspect thoroughly.
-
Check transmission fluid. Look for discoloration or low levels, topping off ($10-$30) to avoid $500-$2,000 repairs.
-
Inspect hitch and frame. Verify no cracks or bends, preventing $200-$1,000 in damage.
-
Examine tires. Check for uneven wear from towing, replacing tires ($100-$300) if needed.
-
Test vehicle performance. Drive briefly to confirm smooth operation, taking 5-10 minutes, costing $0.
Conclusion
Towing with a Dodge Challenger is manageable with these ten steps, ensuring safe handling of light loads. Stick to the 1,000-lb limit and drive cautiously. For heavier loads or expert help, our 24-hour towing in San Antonio offers professional assistance 24/7, keeping your Challenger and cargo safe!

