Jump starting a car is a straightforward process to revive a vehicle with a dead battery, allowing you to get back on the road quickly. Whether your battery has drained due to leaving lights on, cold weather, or age, a proper jump start using another vehicle or a portable jump starter can restore power. However, incorrect techniques can damage the battery, electrical system, or cause injury.
This guide provides detailed steps to safely jump start a car, along with precautions and tips to ensure success, helping you avoid costly repairs ($100-$700) and stay safe. The process is applicable in most weather conditions, with extra care needed in rain, as noted in related inquiries.
What You Need to Jump Start a Car
Before starting, gather these essentials:
-
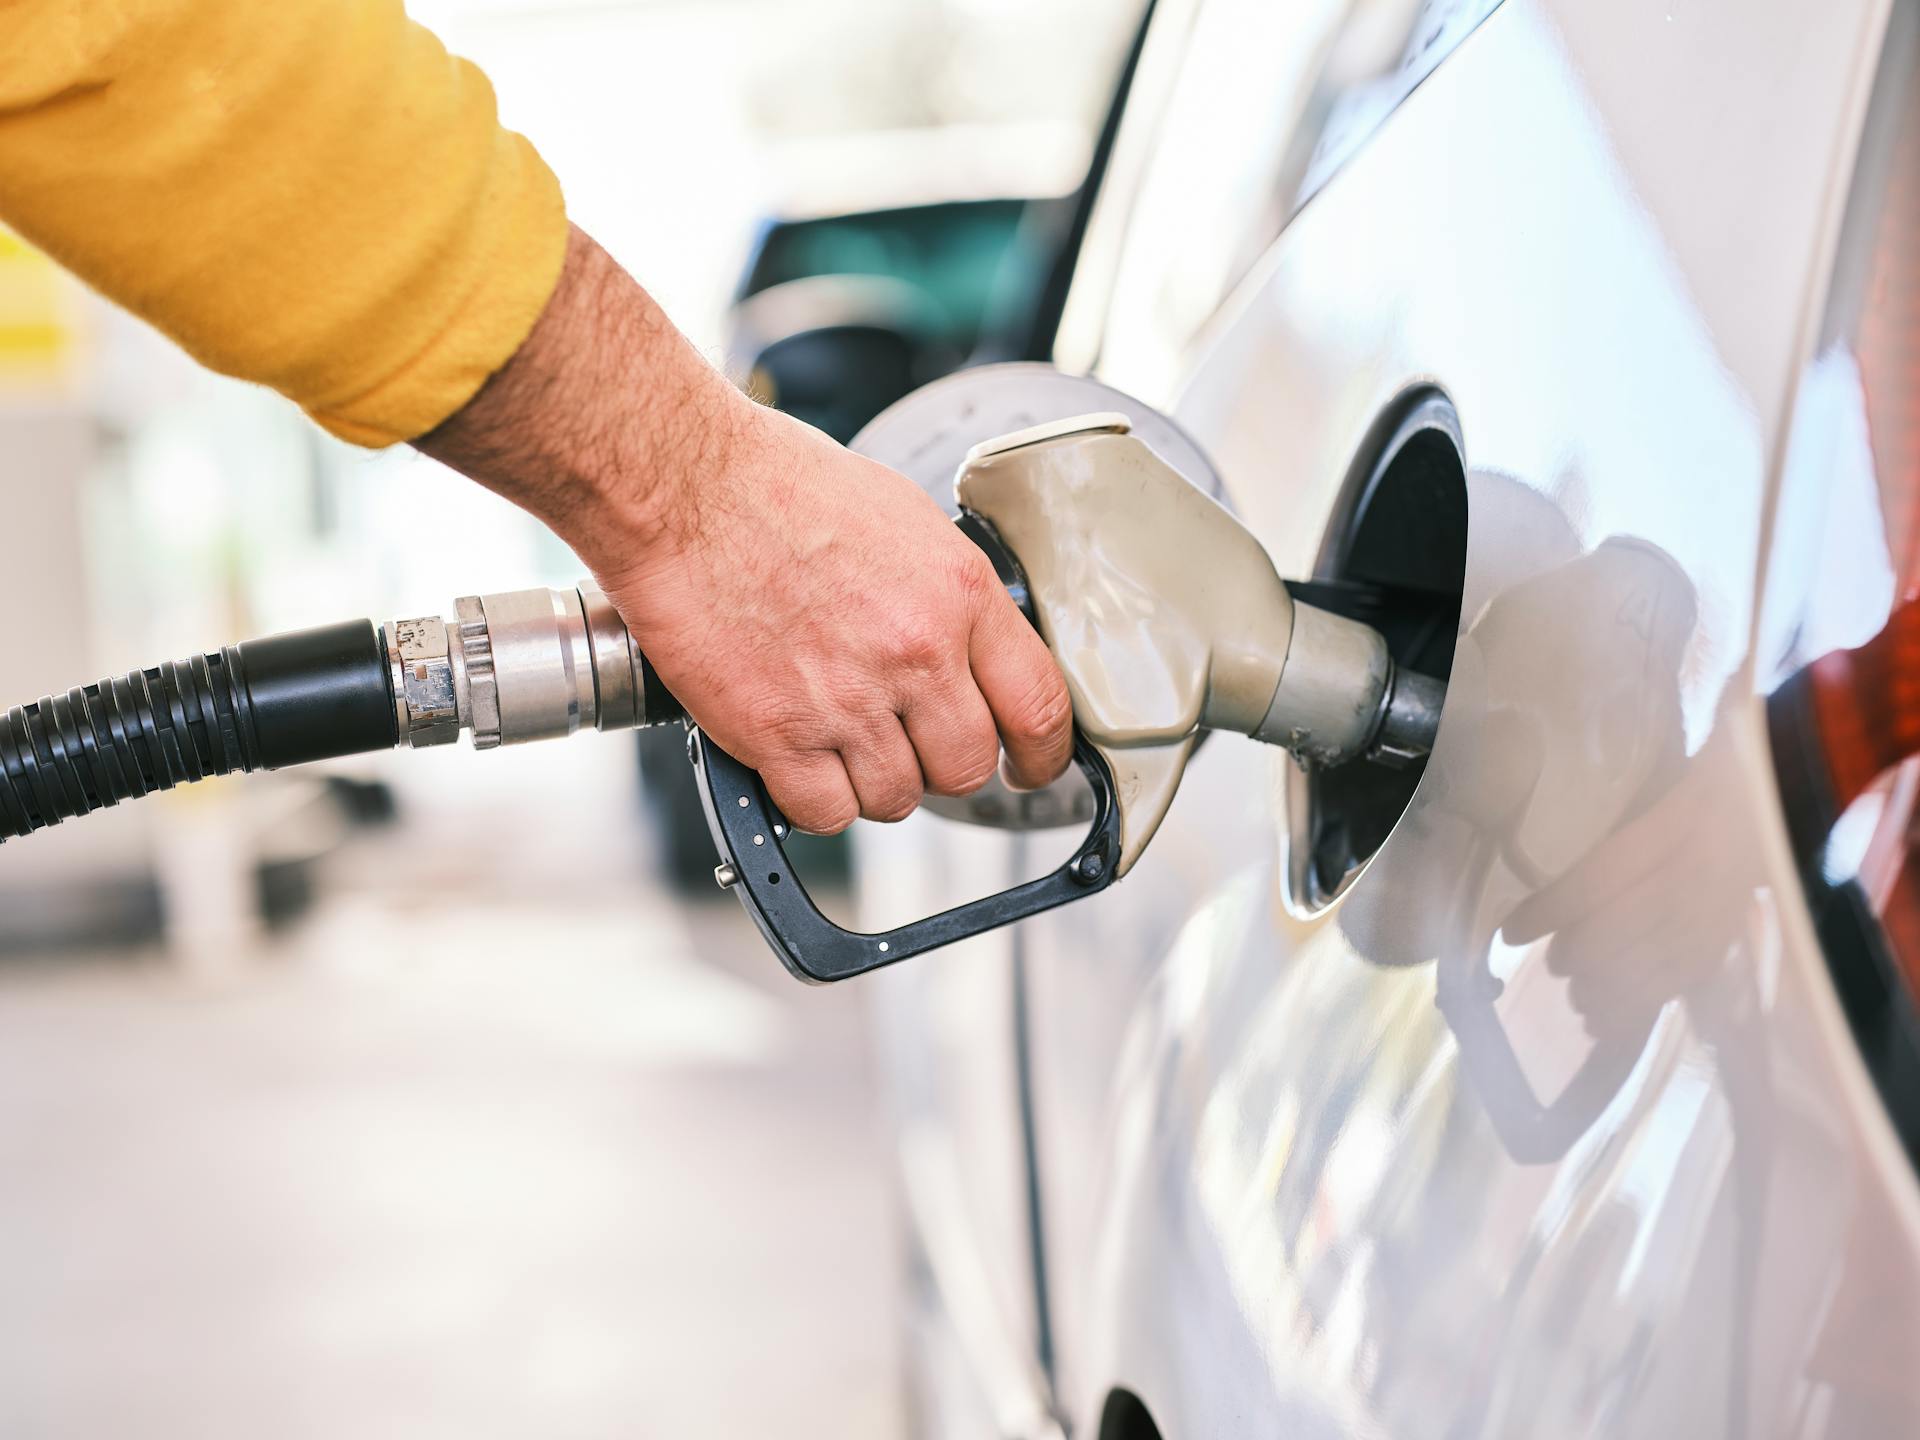
Jumper Cables: Heavy-duty cables (4-6 gauge, $20-$50) with insulated clamps for safe connections.
-
Donor Vehicle: A vehicle with a working 12-volt battery, matching the dead battery’s voltage.
-
Alternative: A portable jump starter ($50-$150) eliminates the need for a second vehicle.
-
Protective Gear: Insulated gloves ($10-$20) and safety glasses ($5-$15) to prevent shocks or sparks.
-
Dry Cloth: To wipe battery terminals, especially in damp conditions.
-
Optional: A multimeter ($20) to check battery voltage post-jump.
Ensure both vehicles are compatible (e.g., both use 12-volt batteries). Avoid using damaged cables or batteries with cracks or leaks, as these can cause shorts or acid spills ($100-$300 cleanup).
Safety Precautions
Jump starting involves working with electrical systems, so take these precautions to avoid injury or damage:
-
Turn Off Electronics: Ensure both vehicles’ ignitions, lights, radios, and accessories are off to prevent electrical surges.
-
Avoid Sparks: Don’t let cable clamps touch each other or allow positive and negative terminals to connect, as this can cause sparks or shorts ($100-$500 in repairs).
-
Check Battery Condition: Inspect for cracks, leaks, or corrosion. A damaged battery may be unsafe to jump and require replacement ($100-$300).
-
Work in a Safe Area: Park on a level, dry surface away from traffic, flames, or smoking to avoid accidents or fires.
-
Avoid Wet Conditions if Possible: As noted in related inquiries, light rain is manageable with precautions (e.g., dry terminals, insulated gloves), but avoid heavy rain or standing water to prevent shorts or slips.
-
Know Your Battery Location: Some vehicles (e.g., BMWs) have batteries in the trunk or under seats. Consult the manual for access.
These steps minimize risks, ensuring a safe and effective jump start.
Step-by-Step Guide to Jump Start a Car
Follow these steps to jump start a car using a donor vehicle with jumper cables. If using a portable jump starter, refer to its manual, as steps differ slightly.
Step 1: Position the Vehicles
Park the donor vehicle close to the car with the dead battery, ensuring the batteries are within reach of the jumper cables (typically 6-10 feet long) but the vehicles don’t touch. Contact could cause unintended electrical connections or shorts. Park on a level surface and engage both vehicles’ parking brakes.
In wet conditions, as discussed in related queries, position under a shelter if possible to keep battery terminals dry. Ensure stable footing to avoid slipping while handling cables. This setup ensures safe access to both batteries.
Step 2: Inspect Equipment
Check jumper cables for frayed insulation or corroded clamps, which could cause sparks or poor connections in any weather. Inspect both batteries for cracks, leaks, or excessive corrosion, as these can worsen with moisture or lead to acid spills ($100-$300 cleanup). Wipe terminals with a dry cloth to ensure clean contact.
If cables or batteries are damaged, replace them before proceeding (cables: $20-$50; battery: $100-$300). Quality equipment reduces risks and ensures a successful jump start.
Step 3: Connect the Jumper Cables
Attach the cables in the correct order to prevent sparks or electrical damage, keeping connections secure and dry:
-
Connect one red clamp to the positive (+) terminal of the dead battery, usually marked with a “+” or red cover.
-
Connect the other red clamp to the positive (+) terminal of the donor battery.
-
Connect one black clamp to the negative (-) terminal of the donor battery, marked with a “-” or black cover.
-
Attach the other black clamp to an unpainted metal surface on the dead car’s engine block (e.g., a bolt or bracket), at least 12 inches from the battery to minimize spark risks near battery gases.
Ensure clamps are firmly attached and not touching each other. In rain, shield connections with an umbrella or tarp, as advised in related inquiries, to prevent water-induced shorts. Double-check for secure, correct connections.
Step 4: Start the Donor Vehicle
Start the donor vehicle’s engine and let it idle for 1-2 minutes to charge the dead battery. This allows the donor’s alternator to provide a steady current. Keep the hood partially closed to protect from weather, especially in rain, ensuring no water pools near the battery or alternator.
Avoid revving the engine excessively, as this can overload the system. A steady idle is sufficient for most jump starts, providing a safe charge transfer.
Step 5: Attempt to Start the Dead Car
Try starting the car with the dead battery by turning the key or pressing the start button. Allow 10-15 seconds per attempt, waiting 1-2 minutes between tries to avoid overheating the starter motor ($200-$500 repair). Keep the donor vehicle running during attempts.
If it doesn’t start after 3-4 tries, the battery may be too weak, or another issue (e.g., alternator failure, $300-$700) may exist. In wet conditions, ensure stable footing to avoid slipping while moving between vehicles.
Step 6: Disconnect the Cables
Once the car starts, remove the cables in reverse order to avoid sparks:
-
Remove the black clamp from the unpainted metal surface on the dead car.
-
Remove the black clamp from the donor battery’s negative (-) terminal.
-
Remove the red clamp from the donor battery’s positive (+) terminal.
-
Remove the red clamp from the dead battery’s positive (+) terminal.
Store cables in a dry place to prevent corrosion, especially after use in rain. Wipe clamps dry to avoid rust ($20-$50 for new cables). Careful disconnection prevents electrical issues.
Step 7: Let the Car Run
Allow the jumped car to run for 15-30 minutes or drive it to recharge the battery via the alternator. Avoid using heavy electrical loads (e.g., AC, headlights) immediately to reduce strain. In wet conditions, drive cautiously to avoid hydroplaning or reduced visibility.
If the battery doesn’t hold a charge, test it at an auto shop ($10-$50) with a multimeter ($20) to determine if replacement is needed ($100-$300). Regular charging prevents repeat failures.
Additional Tips for Success
-
Use a Portable Jump Starter: For convenience, a portable jump starter ($50-$150) eliminates the need for a donor vehicle and is safer in rain, as it requires fewer connections.
-
Test Post-Jump: After jump starting, have the battery and alternator tested to identify underlying issues, preventing future dead batteries.
-
Carry Spare Cables: Keep quality jumper cables in your trunk for emergencies, ensuring they’re rated for your vehicle’s battery (4-6 gauge for most cars).
-
Learn Battery Location: In some vehicles (e.g., certain Audis), the battery is in the trunk or under seats. Check the manual to locate it before an emergency.
-
Maintain the Battery: Clean terminals with a wire brush ($5) every 6 months to prevent corrosion, extending battery life (3-5 years).
Real-World Example
Suppose your 2020 Jeep Cherokee won’t start due to a dead battery after leaving the headlights on. You park a friend’s Ford F-150 nearby, connect jumper cables in the correct order, and start the truck. After 2 minutes, you start the Jeep successfully. Disconnecting carefully and driving for 20 minutes recharges the battery, avoiding further issues. In light rain, you’d wipe terminals dry and use an umbrella for safety.
Conclusion
Jump starting a car is a simple process when done correctly, involving positioning vehicles, connecting cables in the right order, and recharging the battery. With precautions like inspecting equipment and avoiding sparks, you can safely revive your vehicle, even in challenging conditions like light rain. Always test the battery afterward to prevent repeat failures.
For quick assistance, our professional jump start service can handle the task efficiently, ensuring you’re back on the road without hassle.