Need to empty your car’s fuel tank? This guide outlines ten safe steps to drain it for repairs, storage, or fuel issues. Perfect for garage work or emergencies, these tips ensure safe handling, protecting your vehicle and environment while keeping the process straightforward.
Safety Warning: Fuel is flammable and hazardous. Work in a well-ventilated area, avoid sparks, and follow local regulations.
1. Assess the Reason for Draining
Understand why you need to empty the tank—repairs, bad fuel, or storage. This determines the method and precautions, ensuring safe and effective draining.
Clarifying the purpose guides your approach. Here’s how to assess the need.
-
Identify the issue. Contaminated fuel or pump repairs require draining, costing $100-$300 if professional.
-
Check for storage. Empty tanks prevent fuel degradation during long-term storage, saving $50-$200 in repairs.
-
Confirm fuel type. Gasoline or diesel affects disposal methods, per local regulations, costing $0 to verify.
-
Plan safety measures. Use gloves and ventilation to avoid fumes, ensuring safe handling.
2. Gather Necessary Tools and Supplies
Collect tools and containers to drain the tank safely. Proper equipment prevents spills and ensures compliance with environmental regulations for fuel handling.
Having the right tools simplifies the process. Here’s what you need to start.
-
Use approved containers. Get fuel-safe canisters ($10-$50) to store drained fuel, meeting EPA standards.
-
Grab a siphon pump. A manual or electric pump ($15-$50) safely transfers fuel from the tank.
-
Have a wrench set. Tools ($10-$30) loosen fuel lines or drain plugs if needed.
-
Wear safety gear. Gloves and goggles ($5-$20) protect against fuel exposure during draining.
3. Park on a Safe, Flat Surface
Park the car on a flat, stable surface in a well-ventilated area to ensure safety. This prevents spills and reduces risks when handling flammable fuel.
A proper setup minimizes hazards. Here’s how to prepare the vehicle.
-
Choose a flat area. Park in the garage or open lot to avoid rolling, ensuring stability.
-
Turn off the engine. Ensure the car is off and keys are removed to prevent sparks.
-
Engage the parking brake. Lock the car in place to maintain safety during draining.
-
Ventilate the area. Work outdoors or open garage doors to disperse fumes, costing $0.
4. Disconnect the Battery
Disconnecting the battery prevents electrical sparks, which could ignite fuel vapors. This is a critical safety step before accessing the fuel tank.
Proper disconnection ensures safety. Here’s how to do it.
-
Locate the battery. Find it under the hood or trunk, per the manual, taking 1-2 minutes.
-
Remove the negative cable. Use a wrench ($10-$20) to loosen the negative terminal first, costing $0.
-
Secure the cable. Tape it away from the battery to prevent accidental reconnection.
-
Check for sparks. Ensure no tools or metal touch terminals, avoiding fire risks.
5. Locate the Fuel Tank and Access Point
Find the fuel tank and its drain plug or fuel line access point. Most tanks are under the rear of the car, with varying access methods.
Knowing the tank’s layout speeds up the process. Here’s how to locate it.
-
Check the manual. It shows the tank’s location and access points, costing $0 to review.
-
Look under the car. Tanks are typically near the rear axle, accessible via a plug or line.
-
Remove covers if needed. Some cars have access panels under rear seats, taking 5-10 minutes.
-
Avoid forcing parts. Use proper tools to prevent damage, saving $100-$500 in repairs.
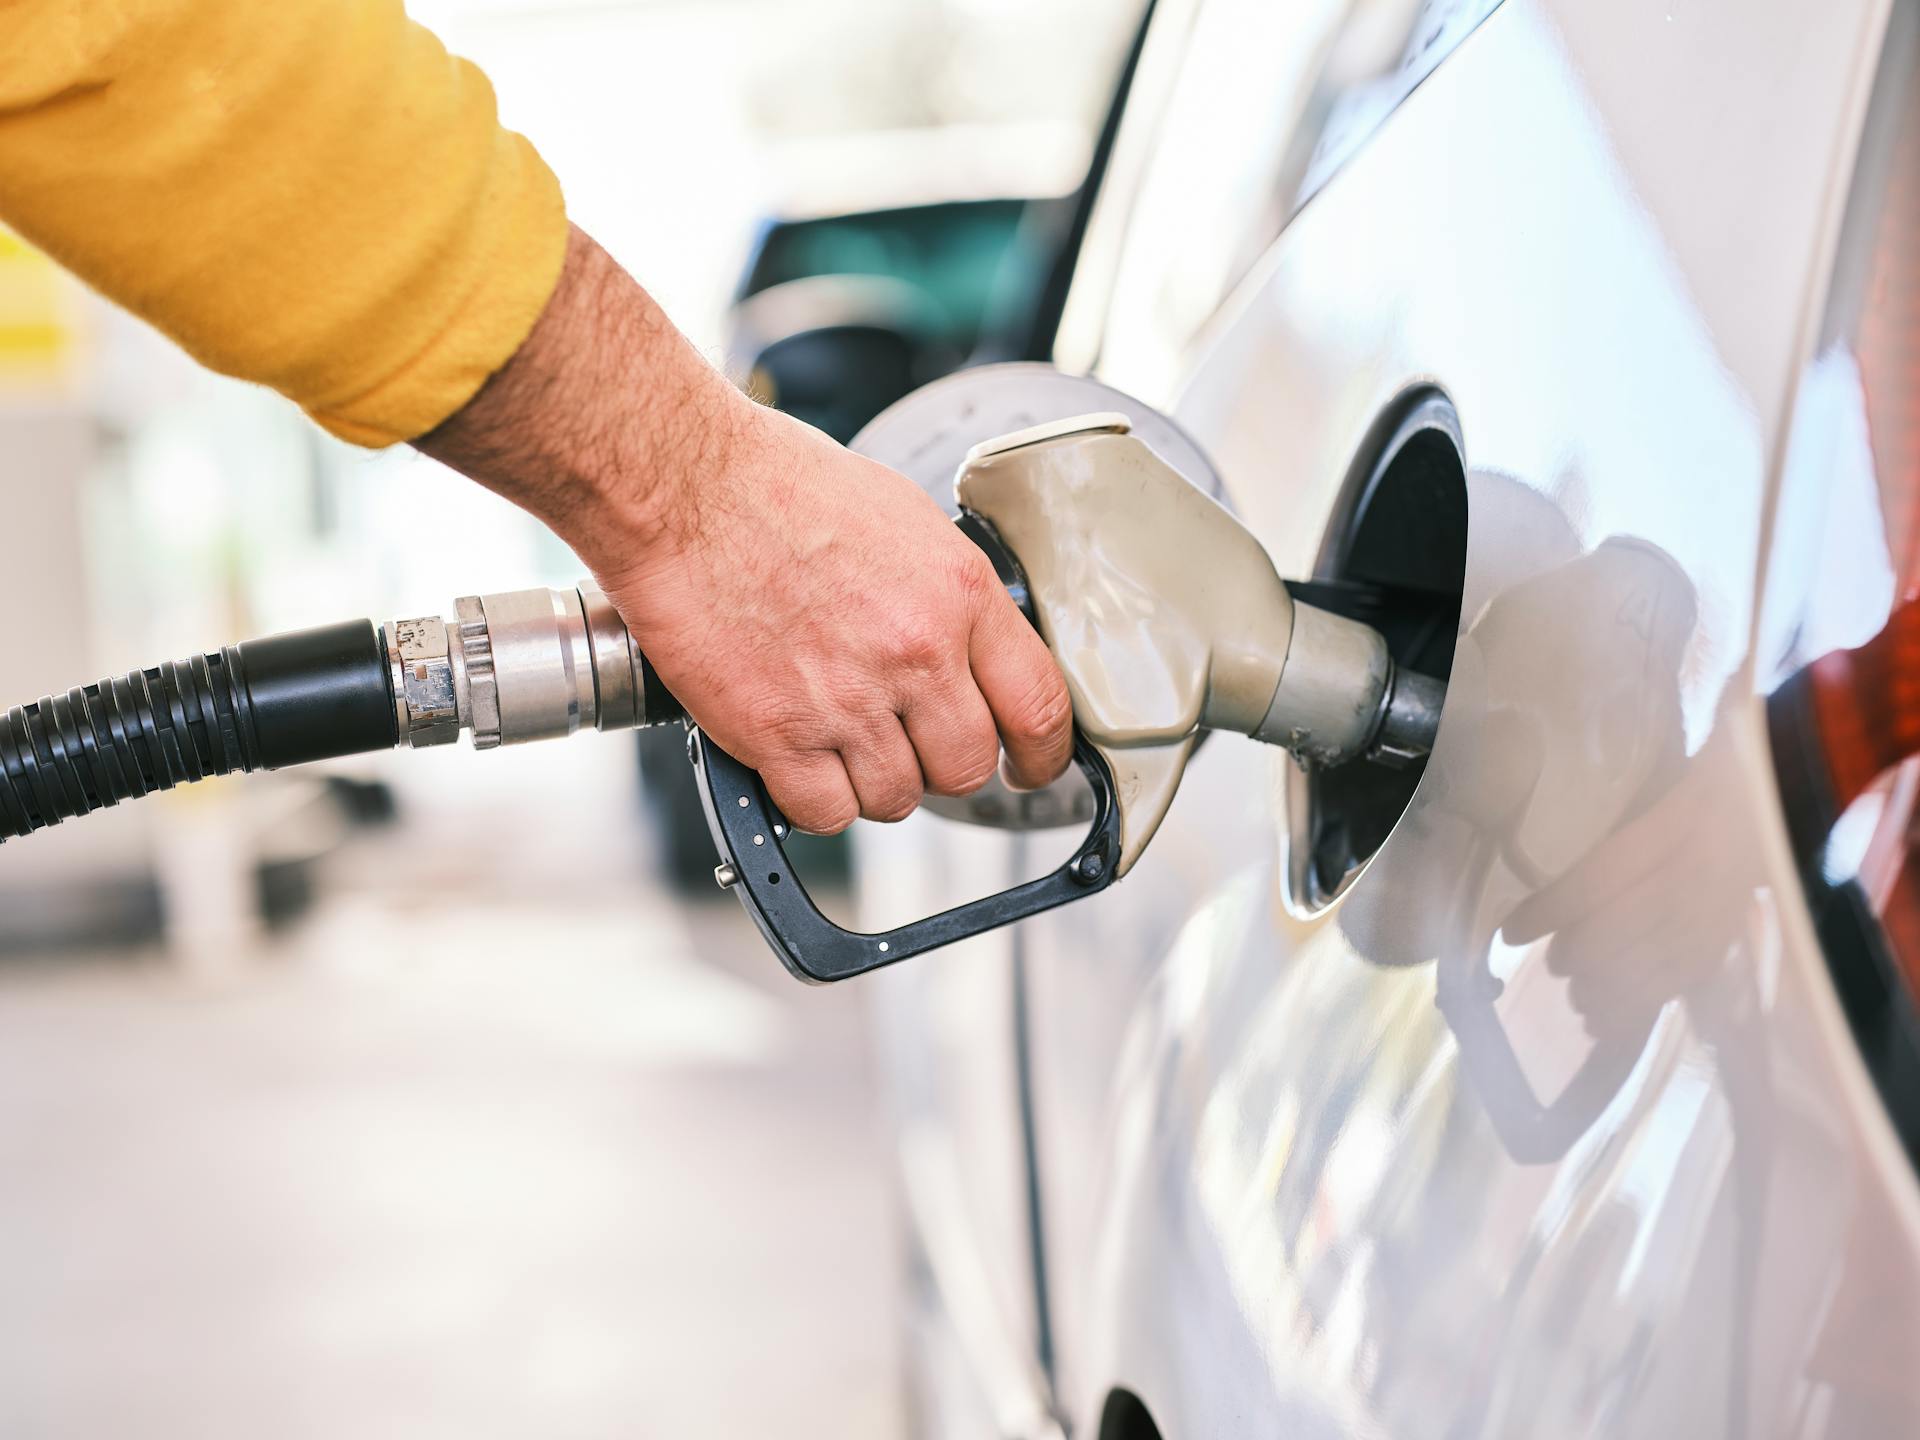
6. Use a Siphon Pump for Draining
A siphon pump is the safest way to empty the tank, transferring fuel to approved containers. It minimizes spills and exposure to flammable vapors.
Proper siphoning ensures efficiency. Here’s how to use a pump.
-
Insert the pump hose. Place the siphon tube into the filler neck, reaching the tank, costing $15-$50 for the pump.
-
Pump into containers. Use a manual or electric pump to transfer fuel, taking 10-20 minutes.
-
Monitor the flow. Stop when the tank is nearly empty to avoid sucking air or debris.
-
Seal containers tightly. Secure fuel canisters to prevent leaks, meeting safety regulations.
7. Access the Drain Plug (If Available)
Some cars have a drain plug on the fuel tank for easy emptying. This method is faster but requires careful handling to avoid spills.
Using the plug simplifies draining. Here’s how to access and use it.
-
Locate the plug. Check under the tank for a bolt or plug, per the manual, costing $0.
-
Place a container. Position a fuel-safe canister ($10-$50) under the plug to catch fuel.
-
Loosen the plug. Use a wrench to slowly open it, draining fuel in 5-15 minutes.
-
Tighten after draining. Reseal the plug to prevent leaks, avoiding $50-$200 repairs.
8. Disconnect Fuel Lines (Advanced Method)
For tanks without drain plugs, disconnecting fuel lines allows draining. This method is complex and best for experienced mechanics due to fuel system risks.
Careful disconnection prevents damage. Here’s how to approach it.
-
Locate the fuel line. Find the line near the tank or pump, per the manual, costing $0.
-
Use a wrench. Loosen the line with tools ($10-$20), directing fuel into a canister.
-
Work slowly. Drain gradually to avoid spills, taking 10-20 minutes, saving $100-$300.
-
Reconnect securely. Tighten lines after draining to prevent leaks, avoiding costly repairs.
9. Dispose of Fuel Safely
Properly dispose of drained fuel to comply with environmental regulations. Gasoline and diesel are hazardous and require specific disposal methods.
Safe disposal protects the environment. Here’s how to handle it.
-
Store in approved containers. Use sealed, fuel-safe canisters ($10-$50) to hold drained fuel.
-
Find a recycling center. Local centers accept fuel for free or $0-$5, per regulations.
-
Avoid dumping. Illegal disposal risks $1,000-$5,000 fines; check local laws first.
-
Contact professionals. Shops dispose of fuel safely, costing $20-$100 for service.
10. Test and Clean Up
After draining, test the car and clean up to ensure safety and functionality. This confirms the tank is empty and the workspace is hazard-free.
Testing and cleanup finalize the process. Here’s how to wrap up.
-
Check the tank. Refill a small amount of fuel and start the car to confirm it’s empty, costing $3-$5.
-
Clean spills. Wipe any fuel spills with absorbent rags, disposing of them safely, costing $0-$10.
-
Store tools. Return wrenches, pumps, and containers to storage, taking 2-3 minutes.
-
Inspect for leaks. Ensure no fuel remains in lines or tank, avoiding $50-$200 repairs.
Conclusion
Emptying a car’s fuel tank is manageable with these ten safe steps, from siphoning to disposal. Handle fuel carefully to stay safe. For hassle-free refueling after repairs, our highly professional fuel delivery service brings quality fuel to you 24/7, keeping your car ready for the road!