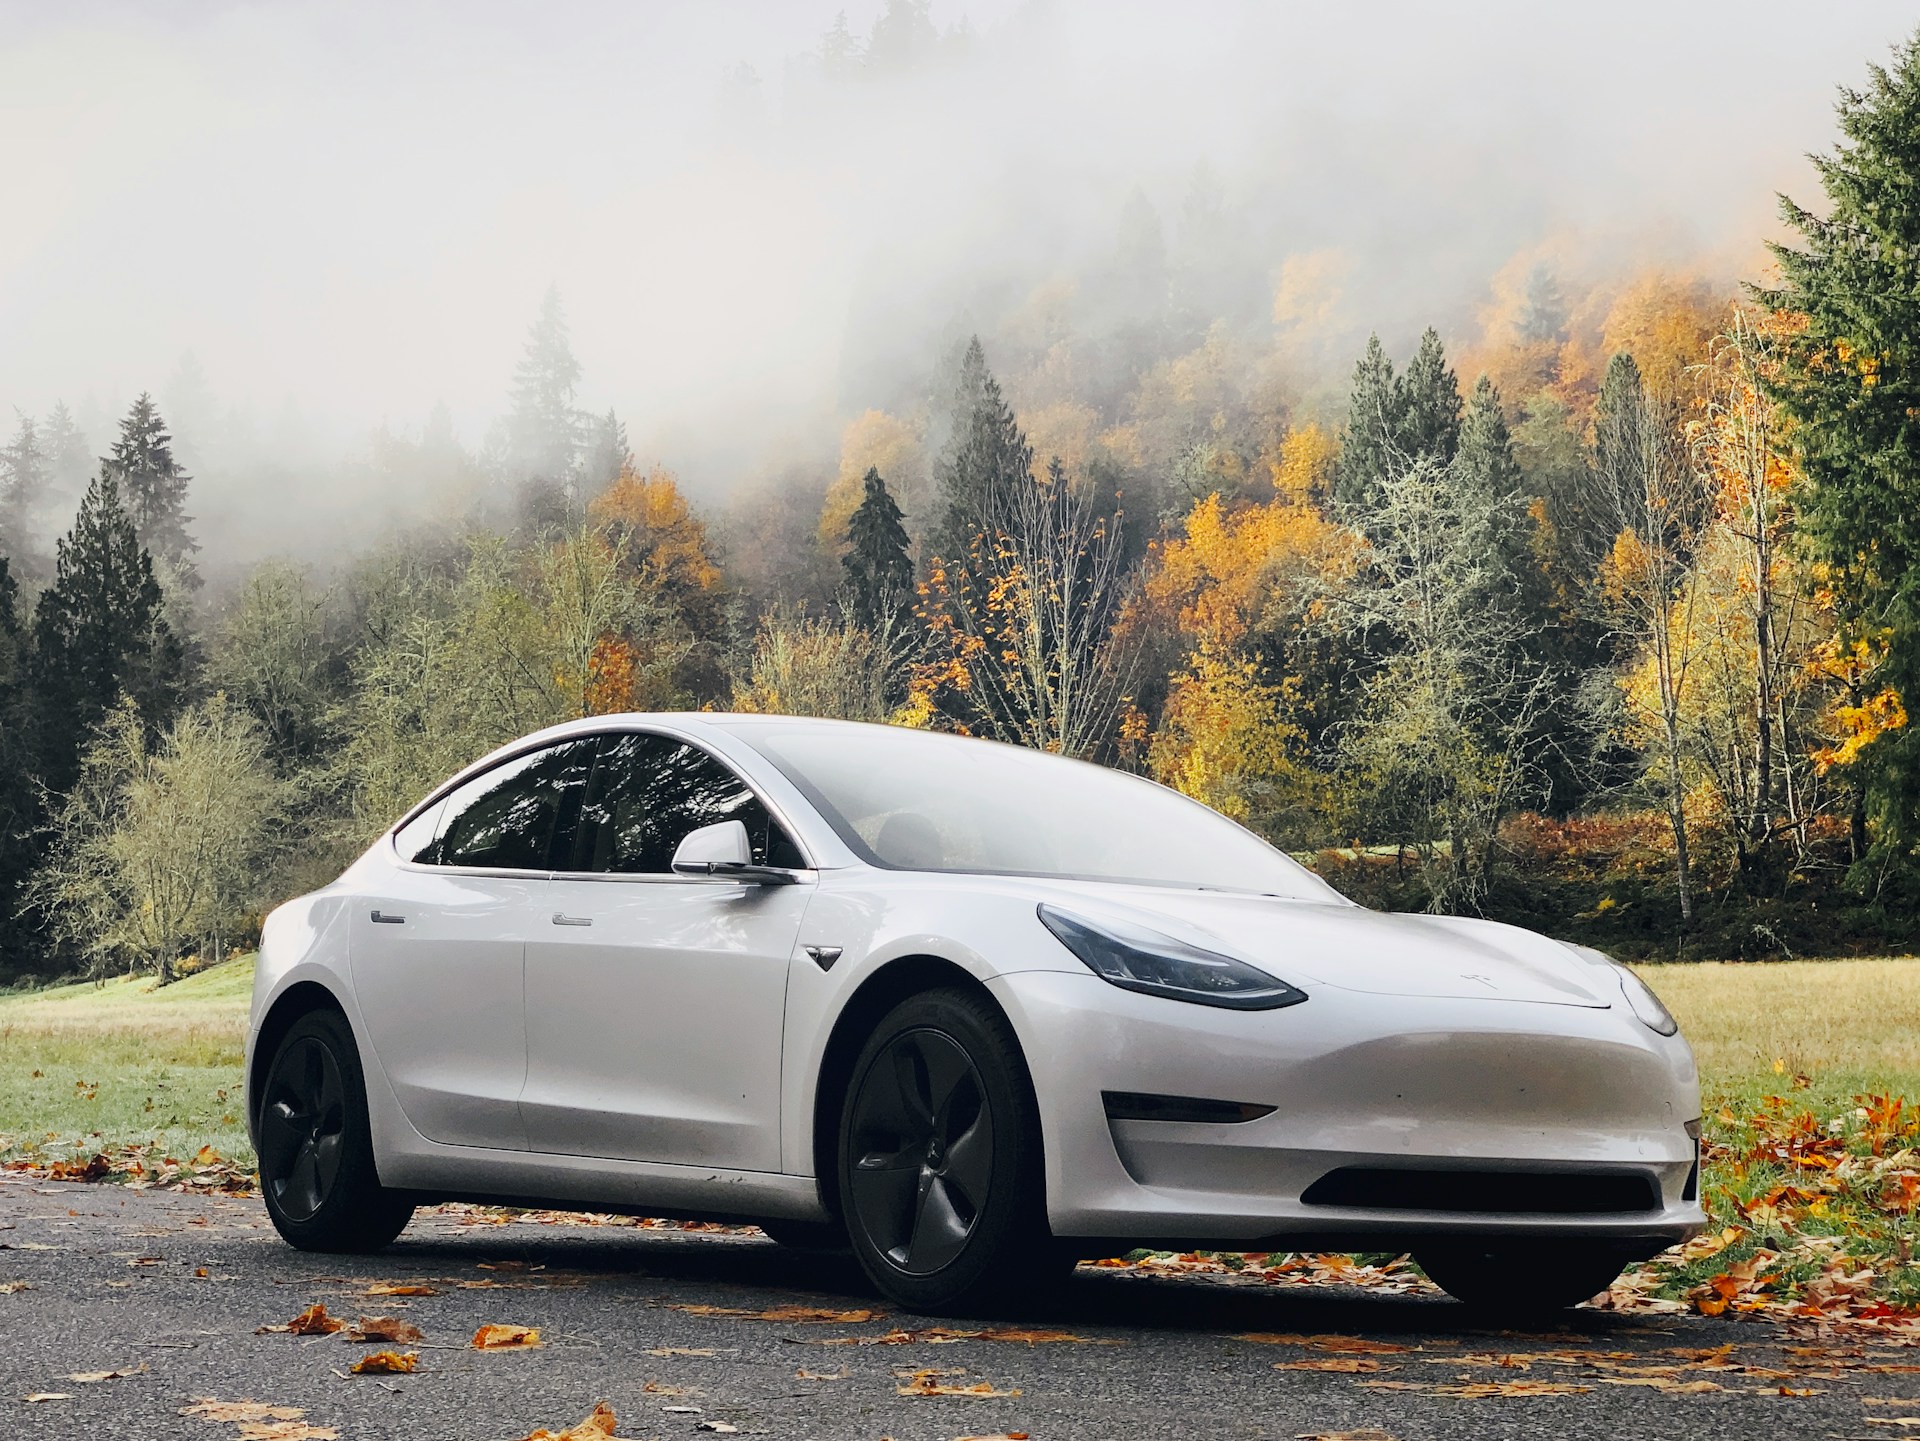
Got a flat on your Tesla? This guide outlines ten essential steps to change a Tesla tire, ensuring a safe swap for Model 3, Y, S, or X. Perfect for roadside or garage fixes, these steps account for Tesla’s unique design, keeping you driving confidently.
1. Gather Tools and Spare Tire
Changing a Tesla tire requires specific tools and a spare tire, as Teslas don’t include spares. Tesla’s unique design demands specialized equipment like jack pucks for safe lifting.
Prepare a toolkit and source a spare tire. Here’s what you need to start.
-
Get a spare or replacement tire. Source a Tesla-compatible tire ($100-$300) matching your rim size (e.g., 19-21 inches), per the sidewall or manual.
-
Use a low-profile jack. A 2-3 ton jack ($30-$150) fits Tesla’s low clearance, essential for lifting.
-
Grab a 21mm socket wrench. A torque wrench ($20-$100) handles Tesla lug nuts, torqued to 129 ft-lb.
-
Include jack pucks. Tesla-specific pucks ($20-$50) protect the battery and frame during lifting.
2. Park on a Safe, Flat Surface
Park your Tesla on a flat, stable surface to ensure safety during the tire change. This prevents rolling and supports safe lifting, critical for heavy electric vehicles.
A level roadside or garage floor is ideal. Here’s how to set up safely.
-
Choose a flat area. Park on a paved shoulder or garage floor to keep the Tesla steady.
-
Engage the parking brake. Hold the ‘P’ on the drive stalk to lock rear calipers, ensuring stability.
-
Turn on hazard lights. Activate lights to alert drivers if changing roadside, enhancing safety.
-
Use wheel chocks. Place chocks or objects ($0-$20) around opposite wheels to prevent movement.
3. Enable Jack Mode (If Applicable)
For Teslas with air suspension (e.g., Model S or X), enable jack mode to disable self-leveling. This prevents the vehicle from adjusting during lifting, ensuring safety.
Access jack mode via the touchscreen. Here’s how to activate it.
-
Step on the brake. Press the brake pedal to enable service mode options, taking 10 seconds.
-
Activate jack mode. Go to Controls > Service > Jack Mode on the touchscreen to disable leveling.
-
Confirm mode is on. Ensure the suspension stays fixed, avoiding injury or damage during lifting.
-
Skip for non-air suspension. Models like 3 or Y without air suspension don’t require this step.
4. Loosen the Lug Nuts
Loosen the lug nuts on the flat tire before lifting the Tesla. Tesla lug nuts require a 21mm socket and specific torque, making this step critical.
Use hand tools to avoid overtightening. Here’s how to loosen the nuts.
-
Remove the center cap. Use a cap puller tool ($5-$10) to pop off the cap, exposing lug nuts.
-
Use a 21mm socket. Fit a wrench or breaker bar to loosen nuts counterclockwise, taking 2-3 minutes.
-
Follow a star pattern. Loosen nuts in a crisscross order to release pressure evenly, preventing wheel damage.
-
Keep nuts secure. Store lug nuts in a container to avoid losing them during the process.
5. Lift the Tesla Safely
Lift the Tesla using a low-profile jack and Tesla-specific jack pucks to protect the battery. Proper placement is crucial due to the vehicle’s weight and low clearance.
Correct lifting prevents costly damage. Here’s how to lift the Tesla.
-
Locate jack points. Find the marked lift points near the flat tire, per the owner’s manual.
-
Place jack pucks. Insert pucks ($20-$50) into lift points to protect the battery and frame.
-
Position the jack. Place a 2-3 ton jack under the puck, ensuring stability, costing $0 if owned.
-
Raise the vehicle. Lift until the tire is 2-3 inches off the ground, taking 3-5 minutes.
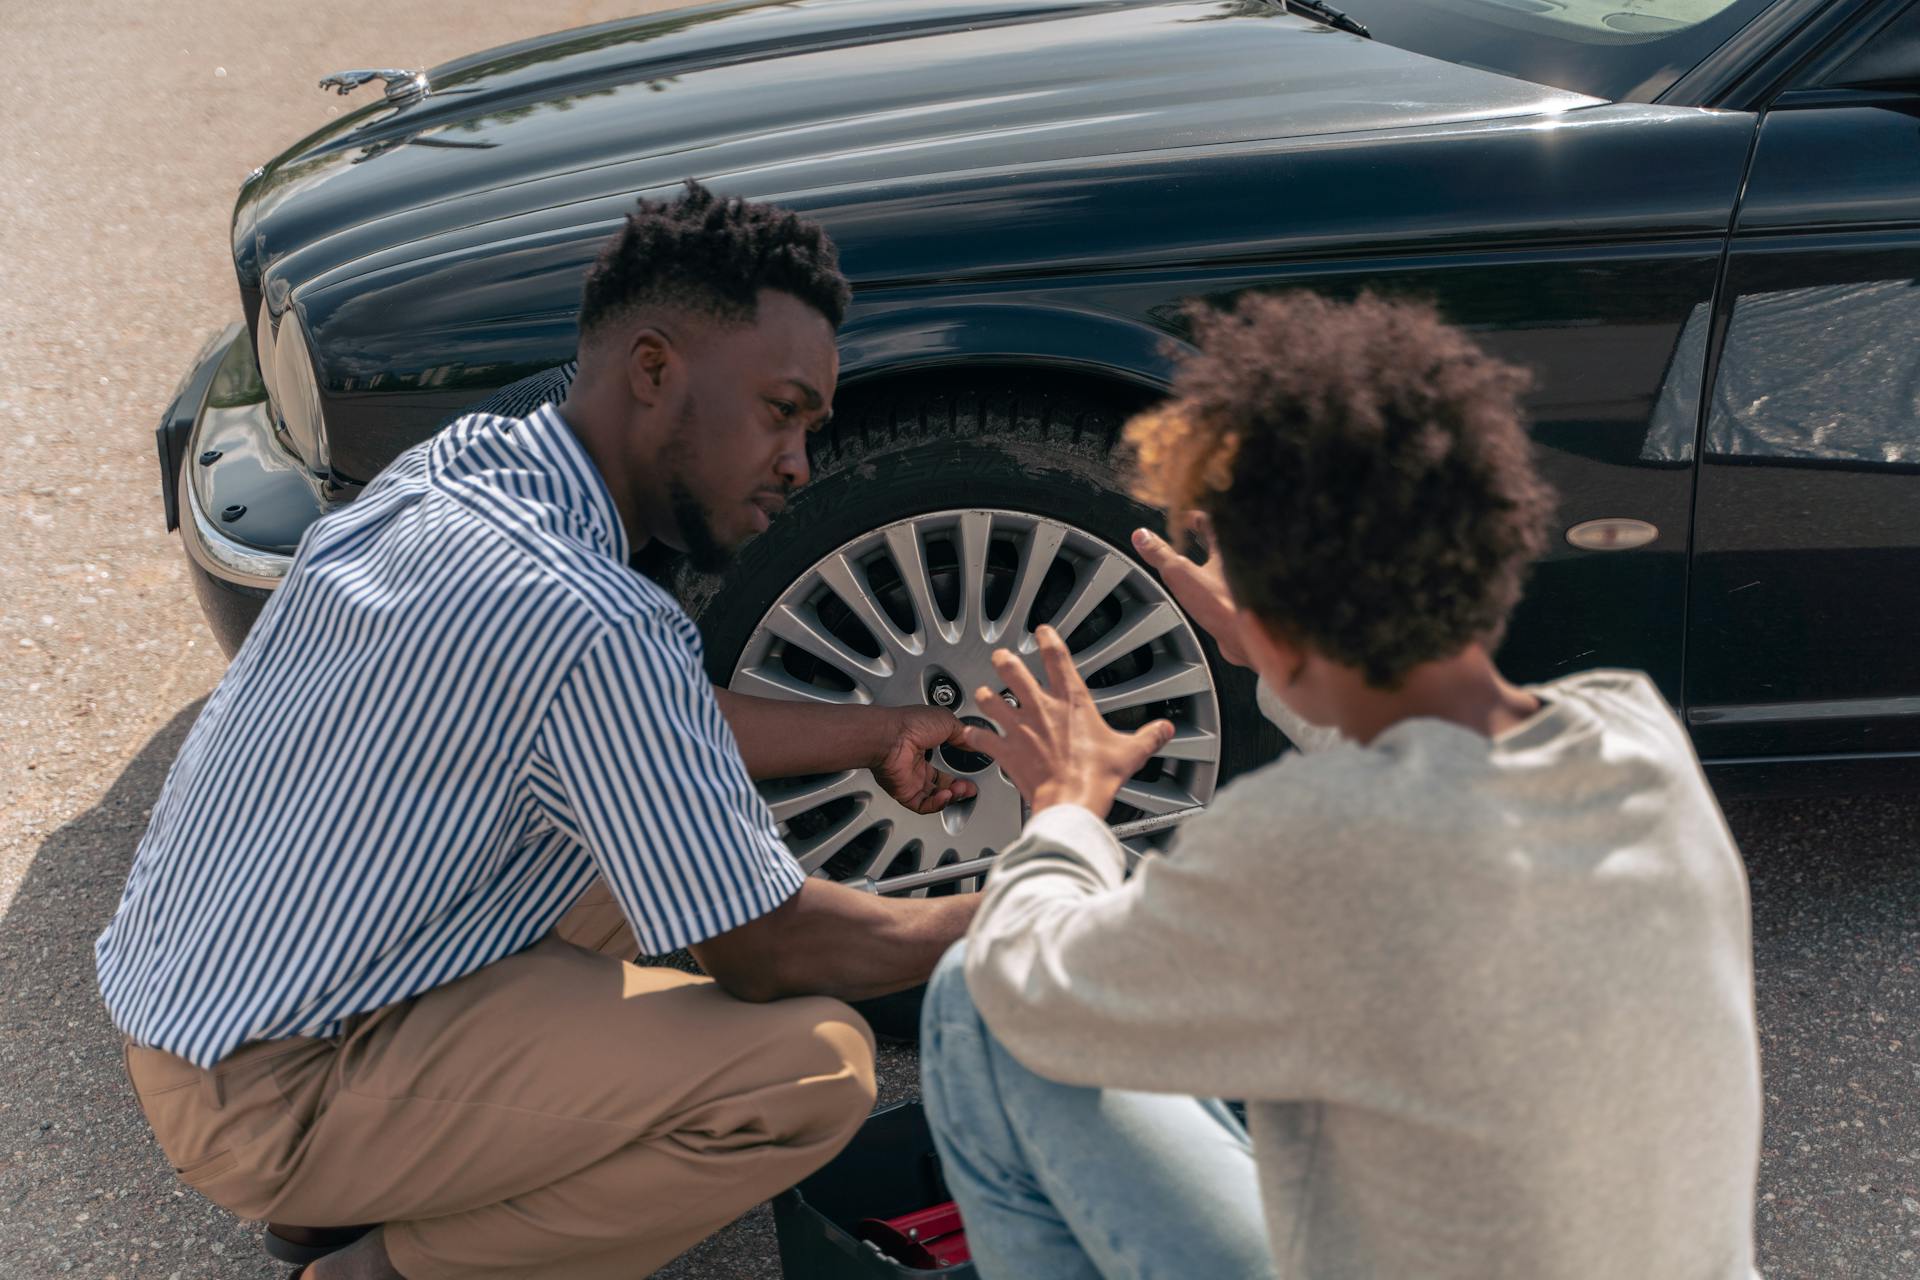
6. Remove the Flat Tire
Remove the flat tire after lifting the Tesla to access the hub for the spare. Tesla wheels are heavy, requiring careful handling to avoid damage.
Gentle removal ensures a smooth process. Here’s how to take off the tire.
-
Unscrew lug nuts. Fully remove the loosened nuts with a 21mm socket, placing them in a safe spot.
-
Pull off the tire. Grip the tire and slide it off the axle studs, taking 1-2 minutes.
-
Set the tire flat. Lay it under the vehicle as a safety measure, preventing rolling.
-
Inspect the hub. Clear debris from the hub to ensure a clean fit for the spare.
7. Check the Spare Tire
Verify the spare or replacement tire’s condition and pressure before mounting. Teslas lack spares, so you’ll need a pre-purchased tire, and compatibility is key.
Ensuring readiness prevents issues. Here’s how to check the tire.
-
Inspect for damage. Check the tire for cuts or wear, ensuring it’s roadworthy, costing $100-$300 if replaced.
-
Verify pressure. Use a gauge ($5-$20) to confirm 42-45 PSI, per the door pillar label.
-
Check rim size. Ensure the tire matches your Tesla’s rim (e.g., 19-21 inches), per the manual.
-
Inflate if needed. Use a portable pump ($10-$50) to adjust pressure before mounting.
8. Mount the Spare Tire
Mount the spare or replacement tire onto the Tesla’s axle. Proper alignment and hand-tightening ensure a secure fit, critical for the vehicle’s heavy weight.
Careful mounting maintains safety. Here’s how to install the tire.
-
Align the tire. Lift the tire and align its holes with the axle studs, pushing it into place, taking 2-3 minutes.
-
Hand-tighten lug nuts. Screw nuts on by hand in a star pattern to hold the tire, costing $0.
-
Ensure proper seating. Check that the tire sits flush against the hub to avoid wobbling.
-
Work cautiously. Use a partner for heavy tires to prevent strain or dropping the wheel.
9. Lower the Tesla and Tighten Nuts
Lower the Tesla and fully tighten the lug nuts to secure the tire. Tesla requires precise torque (129 ft-lb) for safety, using a star pattern.
Proper tightening ensures road safety. Here’s how to complete this step.
-
Lower the vehicle. Slowly lower the jack until the tire touches the ground, taking 2-3 minutes.
-
Remove pucks and jack. Slide out the pucks and jack, storing them safely, costing $0.
-
Torque lug nuts. Use a torque wrench to tighten to 129 ft-lb in a star pattern.
-
Reattach center cap. Align the Tesla ‘T’ with the valve stem and snap it on.
10. Test and Clean Up
Test the new tire and clean up your workspace to finalize the process. This ensures the tire is secure and the Tesla is ready to drive.
Testing confirms a successful change. Here’s how to wrap up.
-
Check tire pressure. Verify 42-45 PSI with a gauge ($5-$20), adjusting if needed, per the door label.
-
Test drive briefly. Drive slowly to confirm the wheel is secure, checking for vibrations, taking 2-3 minutes.
-
Store tools and flat. Secure the flat tire and tools, planning for repair ($20-$200) at a shop.
-
Reset TPMS if needed. Drive a short distance for the tire pressure system to auto-learn.
Conclusion
Changing a Tesla tire is straightforward with these ten steps, accounting for jack pucks and no spare. Stay safe and prepared for flats. For expert help, our highly professional and reliable mobile tire change service connects you to trusted tire professionals 24/7. Drive your Tesla with confidence!