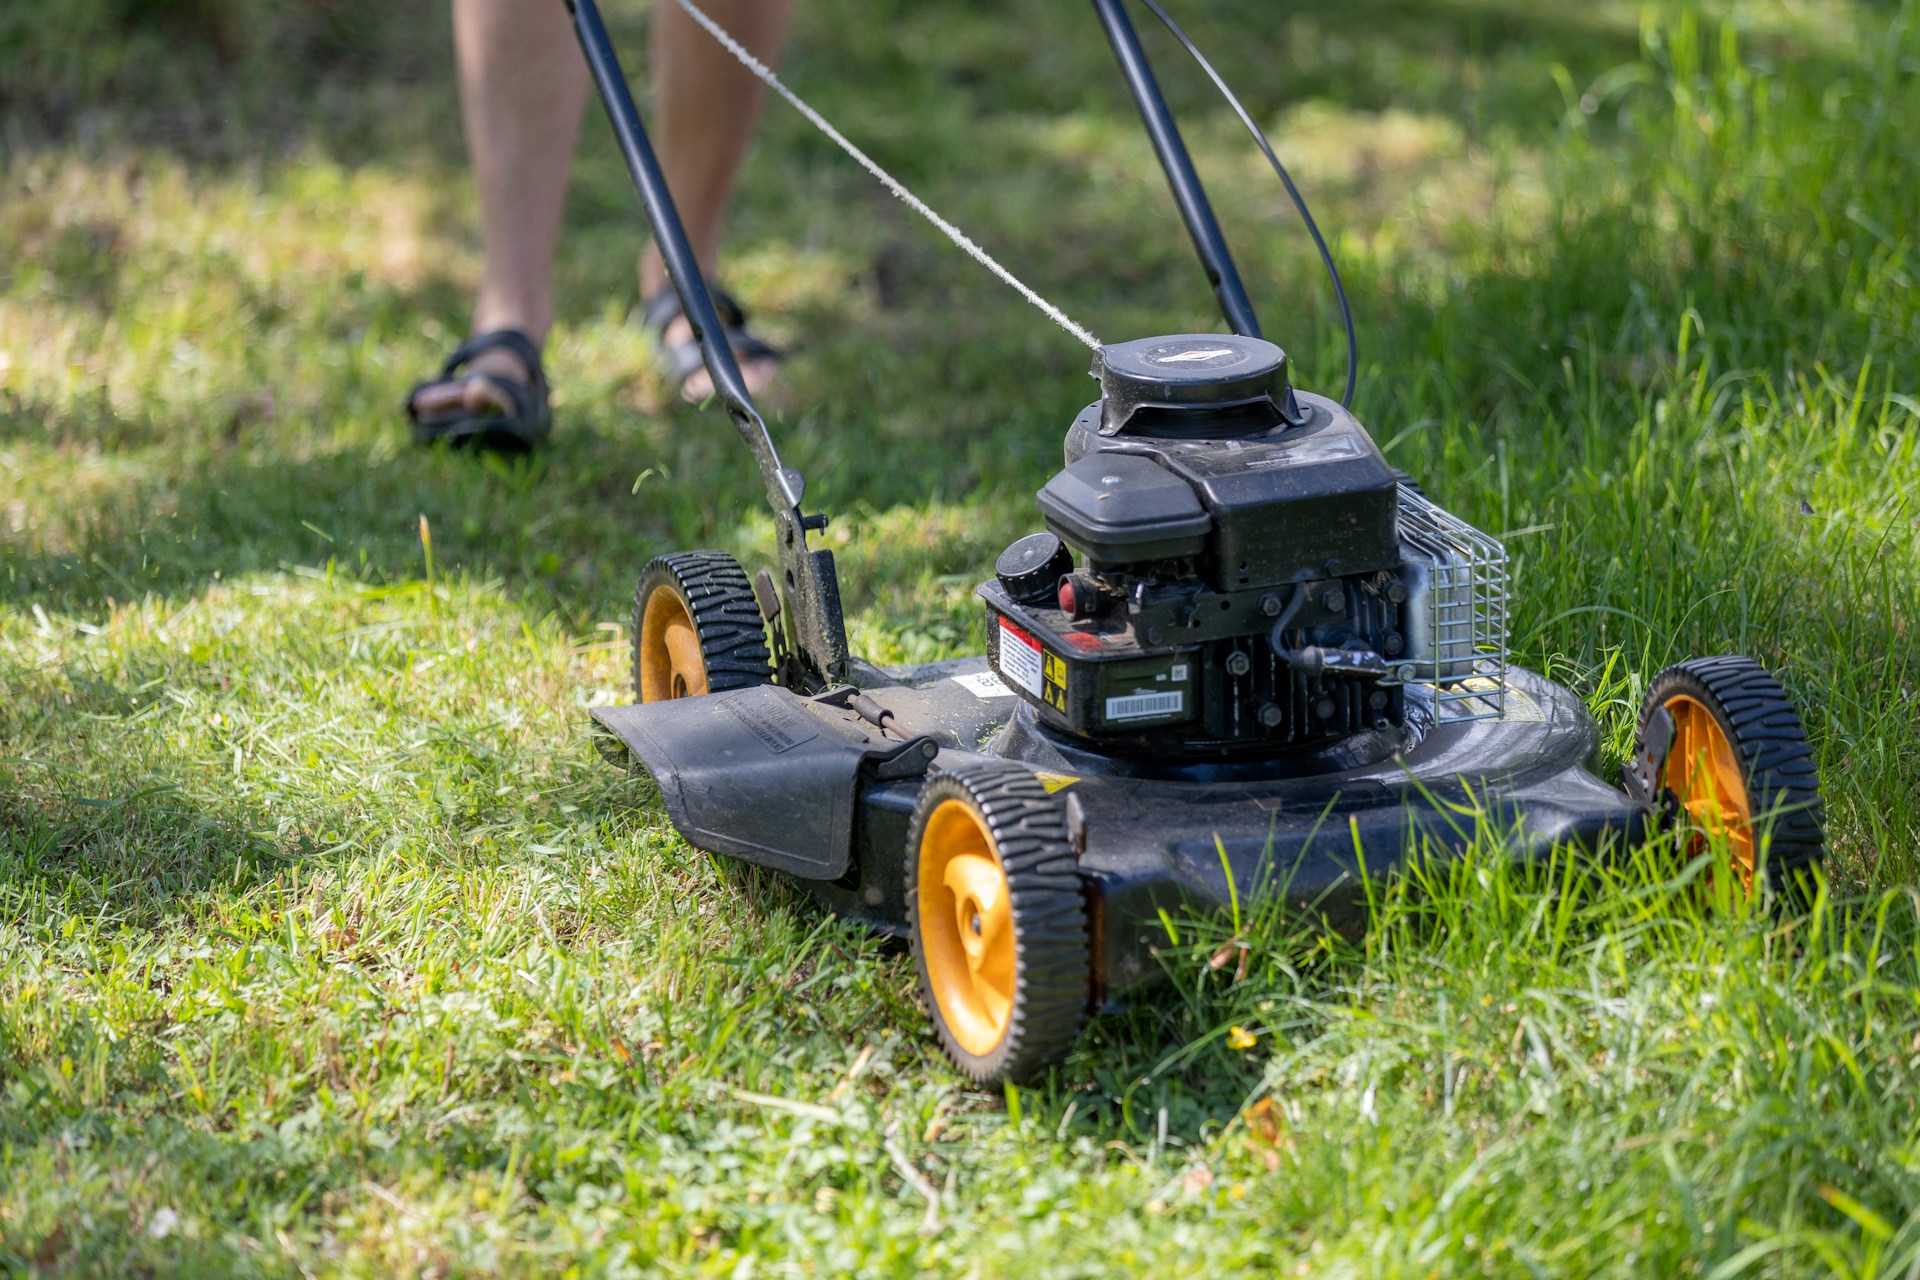
Flat tire on your push or riding mower? This guide outlines ten essential steps to replace a mower tire, ensuring your lawn stays pristine. Ideal for garage fixes or yard maintenance, these steps help you swap a tire confidently, keeping your mower ready for action.
1. Gather Tools and Replacement Parts
Before changing a mower tire, collect the necessary tools and a replacement tire or tube. Having everything ready ensures a smooth process for push or riding mowers.
A basic toolkit and compatible parts are affordable and critical. Here’s what you need to start.
-
Get a replacement tire or tube. Purchase a matching tire or tube ($10-$40) for your mower’s rim size, found on the sidewall.
-
Use a jack or blocks. A small jack ($20-$80) or sturdy blocks lift the mower safely for wheel access.
-
Grab tire irons and a wrench. Use tire irons and a wrench ($10-$20) for wheel and tire removal.
-
Have a tire pump. A manual or electric pump ($10-$40) inflates the new tire or tube.
2. Park on a Flat, Stable Surface
Park the mower on a flat, stable surface to ensure safety during the tire change. This prevents rolling or tipping while working on push or riding mowers.
A level garage or firm yard is ideal for stability. Here’s how to set up safely.
-
Choose a flat area. Park on a garage floor or hard-packed ground to keep the mower steady.
-
Engage the brake. Set the parking brake on riding mowers or lock push mower wheels to prevent movement.
-
Turn off the engine. Ensure the mower is off to avoid accidental starts during the process.
-
Use wheel chocks. Place blocks or chocks ($0-$15) around other wheels for added security.
3. Lift the Mower Safely
Lift the mower to access the flat tire, using a jack or blocks. Proper lifting ensures safe wheel removal without damaging the mower’s frame or deck.
Correct placement prevents tipping or damage. Here’s how to lift the mower.
-
Find a lift point. Locate a sturdy frame or axle area near the flat tire, avoiding the deck.
-
Position the jack or blocks. Place a jack or blocks under the frame, costing $0 if using blocks, for stability.
-
Raise the mower. Lift until the tire is 1-2 inches off the ground, taking 2-3 minutes.
-
Check stability. Ensure the mower is steady to avoid accidents during tire removal.
4. Remove the Wheel
Remove the wheel with the flat tire to access the tire or tube. This involves loosening bolts, nuts, or a retaining pin securing the wheel to the axle.
Careful removal keeps the process smooth. Here’s how to take off the wheel.
-
Loosen fasteners. Use a wrench to loosen nuts or remove a cotter pin, taking 1-2 minutes, costing $0.
-
Remove the wheel. Slide the wheel off the axle, setting it flat to prevent rolling, after removing fasteners.
-
Store parts safely. Keep nuts or pins in a container to avoid loss during the process.
-
Inspect the axle. Clear debris from the axle hub to ensure a clean remounting later.
5. Deflate the Tire Completely
Deflate the tire fully to simplify tire or tube removal. This step is essential for both tubeless and tube-type mower tires, reducing resistance.
Using a valve core tool ensures safe deflation. Here’s how to do it.
-
Remove the valve core. Use a valve core tool ($5-$10) to unscrew the core, releasing air in 1-2 minutes.
-
Confirm deflation. Press the tire to ensure all air is out, easing tire or tube removal.
-
Store the core. Keep the core in a small container to avoid losing it, costing $0.
-
Check for pressure. Verify no residual air remains to make the tire removal process easier.
6. Break the Tire Bead
Break the tire bead to separate it from the rim, allowing removal or access to the inner tube. This requires tire irons or a bead breaker for small mower tires.
Proper technique prevents rim damage. Here’s how to break the bead.
-
Use tire irons. Insert two tire irons ($10-$20) between the tire and rim, prying the bead loose.
-
Work around the rim. Pry both sides of the tire free, taking 3-5 minutes to fully break the bead.
-
Use a bead breaker if available. A manual breaker ($20-$80) speeds up the process, avoiding rim damage.
-
Avoid scratching the rim. Keep tools clear of the rim to prevent $30-$100 in repairs.
7. Remove the Old Tire or Tube
Remove the old tire or inner tube from the rim to replace it with a new one. This involves prying the tire off or extracting the tube carefully.
Gentle handling protects the rim and simplifies replacement. Here’s how to remove the tire or tube.
-
Pry off the tire. Use tire irons to lift the tire over the rim, working both sides, taking 3-5 minutes.
-
Extract the tube. For tube-type tires, pull the inner tube out, costing $5-$15 for a replacement tube.
-
Inspect the rim. Clean rust or debris with a wire brush, ensuring a good fit for the new tire.
-
Work carefully. Avoid bending the rim, which could cost $30-$100 to repair if damaged.
8. Install the New Tire or Tube
Install the new tire or inner tube onto the rim to restore the wheel’s functionality. Proper installation ensures a secure fit and prevents air leaks.
Using lubricant and careful technique simplifies the process. Here’s how to install the new part.
-
Apply tire lubricant. Use tire soap or lubricant ($5-$10) on the tire’s beads or tube for easy mounting.
-
Mount the tire. Guide the tire onto the rim with tire irons, starting with one bead, taking 3-5 minutes.
-
Insert the tube. For tube-type tires, place the tube inside, avoiding twists, before mounting the second bead.
-
Ensure even seating. Check that the tire or tube is properly aligned to prevent leaks.
9. Inflate the Tire and Reinstall
Inflate the new tire or tube to the correct pressure and reinstall the wheel on the mower. This step restores the mower’s functionality for lawn care.
Proper inflation and mounting ensure safe operation. Here’s how to complete this step.
-
Inflate the tire. Use a pump ($10-$40) to reach 10-15 PSI, per the sidewall, taking 2-3 minutes.
-
Reinstall the valve core. Screw in the core with a valve tool, ensuring a tight seal, costing $0.
-
Mount the wheel. Slide the wheel onto the axle, secure nuts or pins, and lower the mower, taking 2-3 minutes.
-
Tighten fasteners. Use a wrench to secure bolts or nuts, ensuring a firm connection.
10. Test and Clean Up
Test the new tire for leaks and clean up your workspace to complete the process. This ensures the tire holds air and the mower is ready for use.
Testing and cleanup finalize a successful tire change. Here’s how to wrap up.
-
Check for leaks. Spray soapy water on the tire and valve; no bubbles confirm a seal, taking 1-2 minutes.
-
Test the mower. Run the mower briefly to ensure the wheel is secure, rechecking fasteners after 5 minutes.
-
Store tools. Return the jack, wrench, and tire irons to storage, taking 2-3 minutes.
-
Recycle the old tire. Dispose of the old tire or tube at a recycling center, costing $0-$5.
Conclusion
Changing a mower tire is simple with these ten steps, from gathering tools to testing the new tire. Keep your lawn care on track. For expert help, our highly professional tire change service connects you to trusted tire professionals 24/7. Get your mower rolling smoothly!