Got a flat tire? Don’t panic! This guide outlines ten straightforward steps to change a car tire, ensuring you’re back on the road safely. Perfect for roadside emergencies or garage fixes, these steps empower you to handle a tire change with confidence, no matter where you are.
1. Find a Safe Location
Before changing a tire, move your car to a safe spot to avoid accidents. A flat, stable surface away from traffic is ideal for this task.
Safety is critical, especially on busy roads or highways, to protect yourself and others while working on your car.
-
Pull over carefully. Move your car to a level area, like a shoulder or parking lot, away from traffic.
-
Turn on hazard lights. Activate your hazard lights to alert other drivers, enhancing visibility and safety.
-
Apply the parking brake. Engage the brake to prevent the car from rolling, ensuring stability during the change.
-
Use warning triangles. Place reflective triangles or flares 50-100 feet behind your car if on a roadside.
2. Gather Necessary Tools
Having the right tools makes tire changing smooth and efficient. Most cars come with a basic kit, but you’ll need to ensure everything’s ready.
Check your trunk for the essentials before starting, as missing tools can stall the process. Here’s what you need.
-
Locate the spare tire. Find your spare tire, usually in the trunk under a panel or beneath the car.
-
Grab the jack. Your car’s jack, stored with the spare, is crucial for lifting the vehicle safely.
-
Get a lug wrench. This tool loosens and tightens lug nuts, typically included in your car’s kit.
-
Include extras. A wheel chock, gloves, and a tire iron (if separate) help make the job easier.
3. Secure the Vehicle
Securing your car prevents it from rolling or tipping during the tire change. This step ensures a stable and safe working environment.
Proper securing is vital, especially on uneven surfaces, to avoid injury or damage. Here’s how to do it.
-
Engage the parking brake. Set the brake firmly to keep the car stationary while you work.
-
Place wheel chocks. Position chocks or heavy objects like rocks behind or in front of the opposite tires.
-
Ensure a flat surface. Confirm the car is on level ground to prevent slipping during the lift.
-
Double-check stability. Push the car lightly to ensure it won’t move before proceeding.
4. Loosen the Lug Nuts
Loosening the lug nuts before lifting the car makes removing the tire easier. This step prepares the wheel for quick removal once elevated.
Do this while the car is on the ground to avoid spinning the wheel. Here’s how to loosen the nuts.
-
Use a lug wrench. Fit the wrench onto each lug nut and turn counterclockwise to loosen them.
-
Apply firm pressure. If nuts are tight, use your body weight or a crossbar wrench for extra leverage.
-
Loosen, don’t remove. Turn each nut one full turn, leaving them on until the car is lifted.
-
Work in a star pattern. Loosen nuts in a crisscross order to evenly release pressure on the wheel.
5. Lift the Car with a Jack
Lifting the car with a jack allows you to remove the flat tire safely. Proper jack placement is crucial to avoid damaging the vehicle.
Position the jack correctly to ensure stability during the tire change. Here’s how to lift your car.
-
Locate the jack point. Find the reinforced area near the flat tire, marked in your car’s manual.
-
Position the jack. Place it under the jack point, ensuring it’s stable and perpendicular to the ground.
-
Raise the car. Turn the jack handle or crank clockwise until the tire is 2-3 inches off the ground.
-
Check stability. Ensure the car is steady before proceeding to avoid it tipping over.
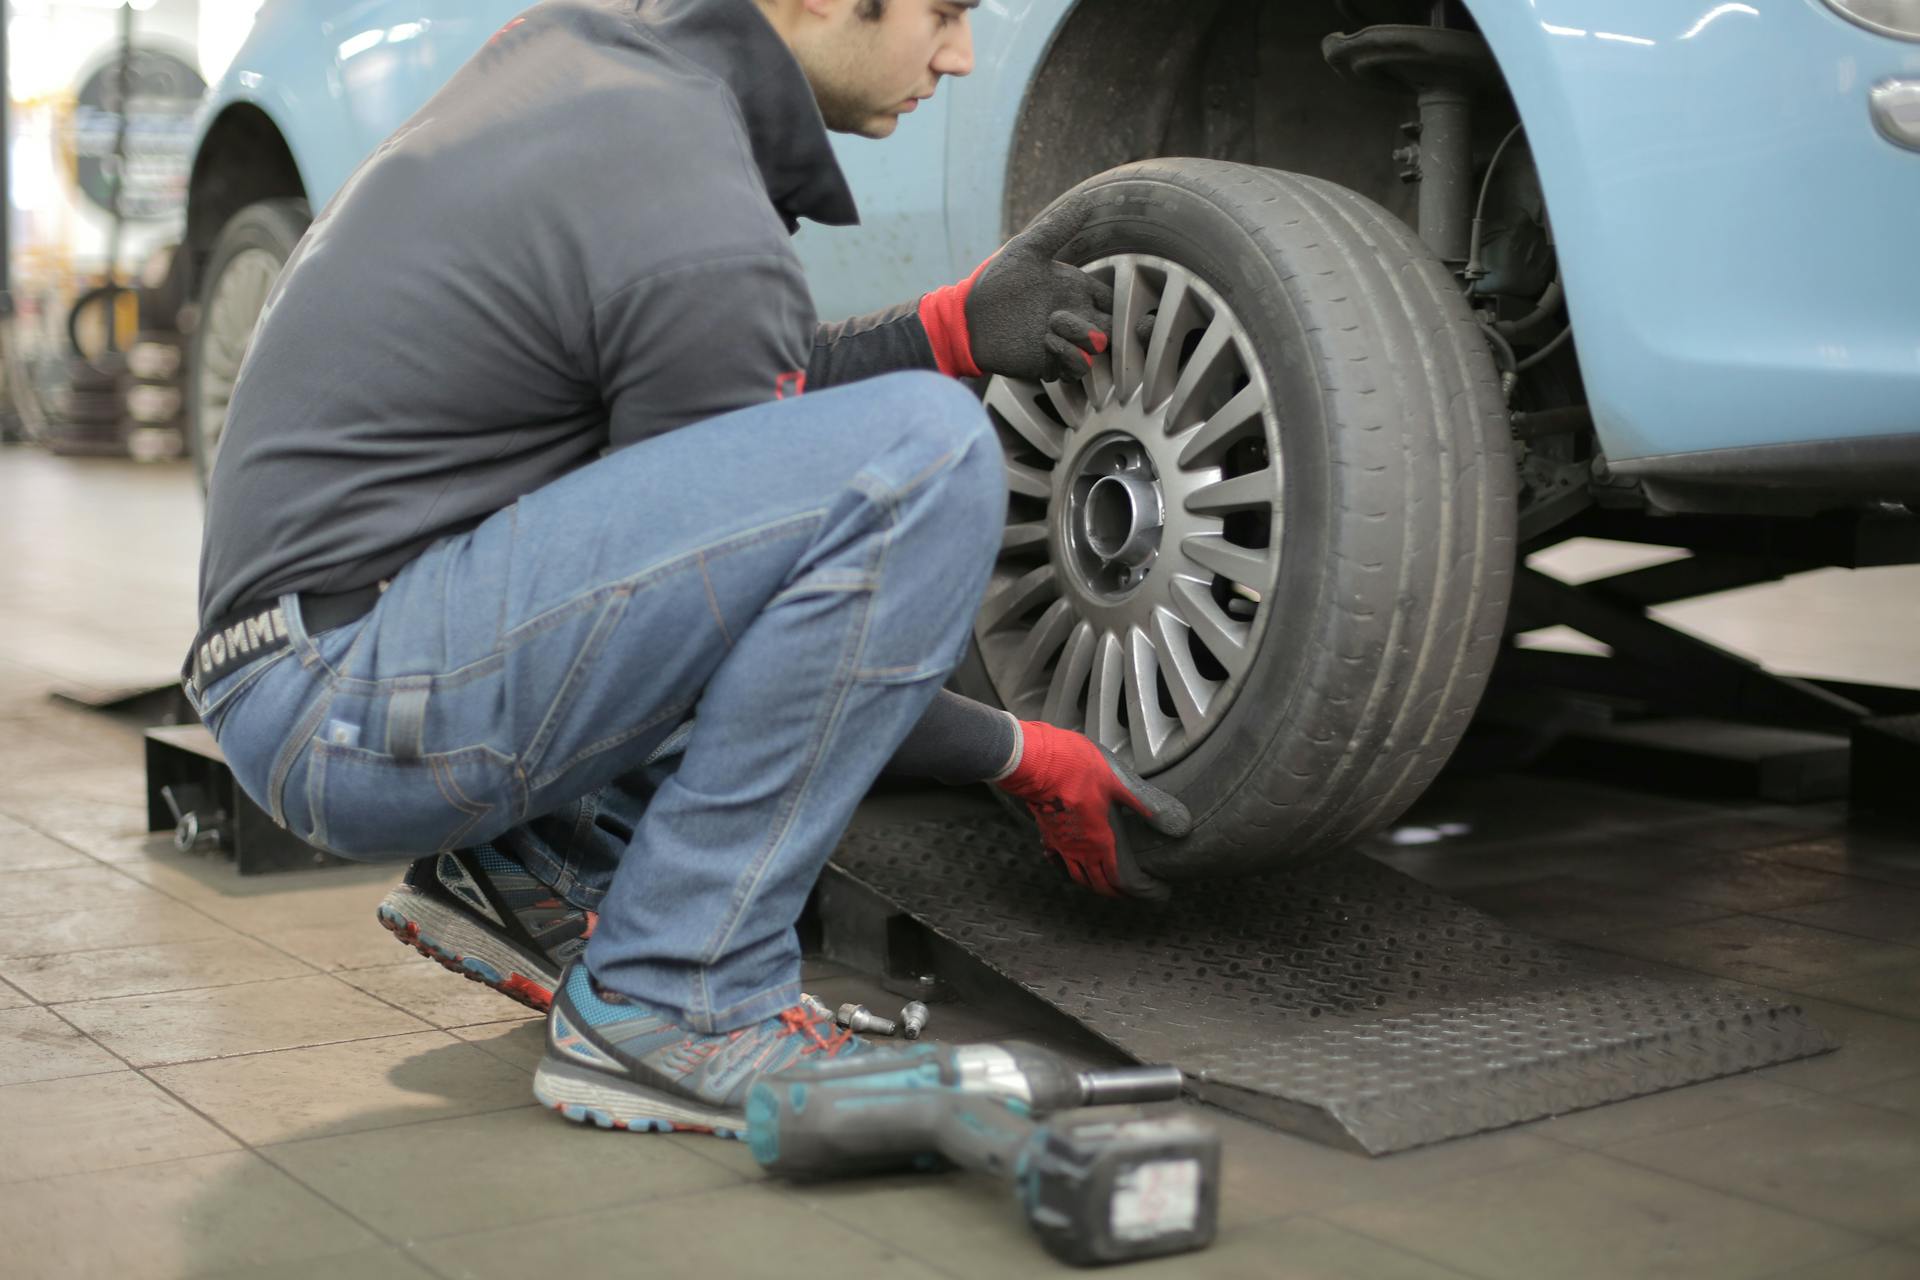
6. Remove the Flat Tire
With the car lifted, you can now remove the flat tire. This step involves fully unscrewing the lug nuts and taking off the wheel.
Careful handling ensures a smooth removal without damaging the car. Here’s how to do it.
-
Unscrew lug nuts. Use the lug wrench to fully remove the loosened nuts, placing them in a safe spot.
-
Pull off the tire. Grip the tire firmly and pull it straight off the wheel studs, setting it aside.
-
Inspect the hub. Check for debris on the wheel hub to ensure a clean fit for the spare.
-
Work safely. Keep the tire flat on the ground to avoid it rolling away during the process.
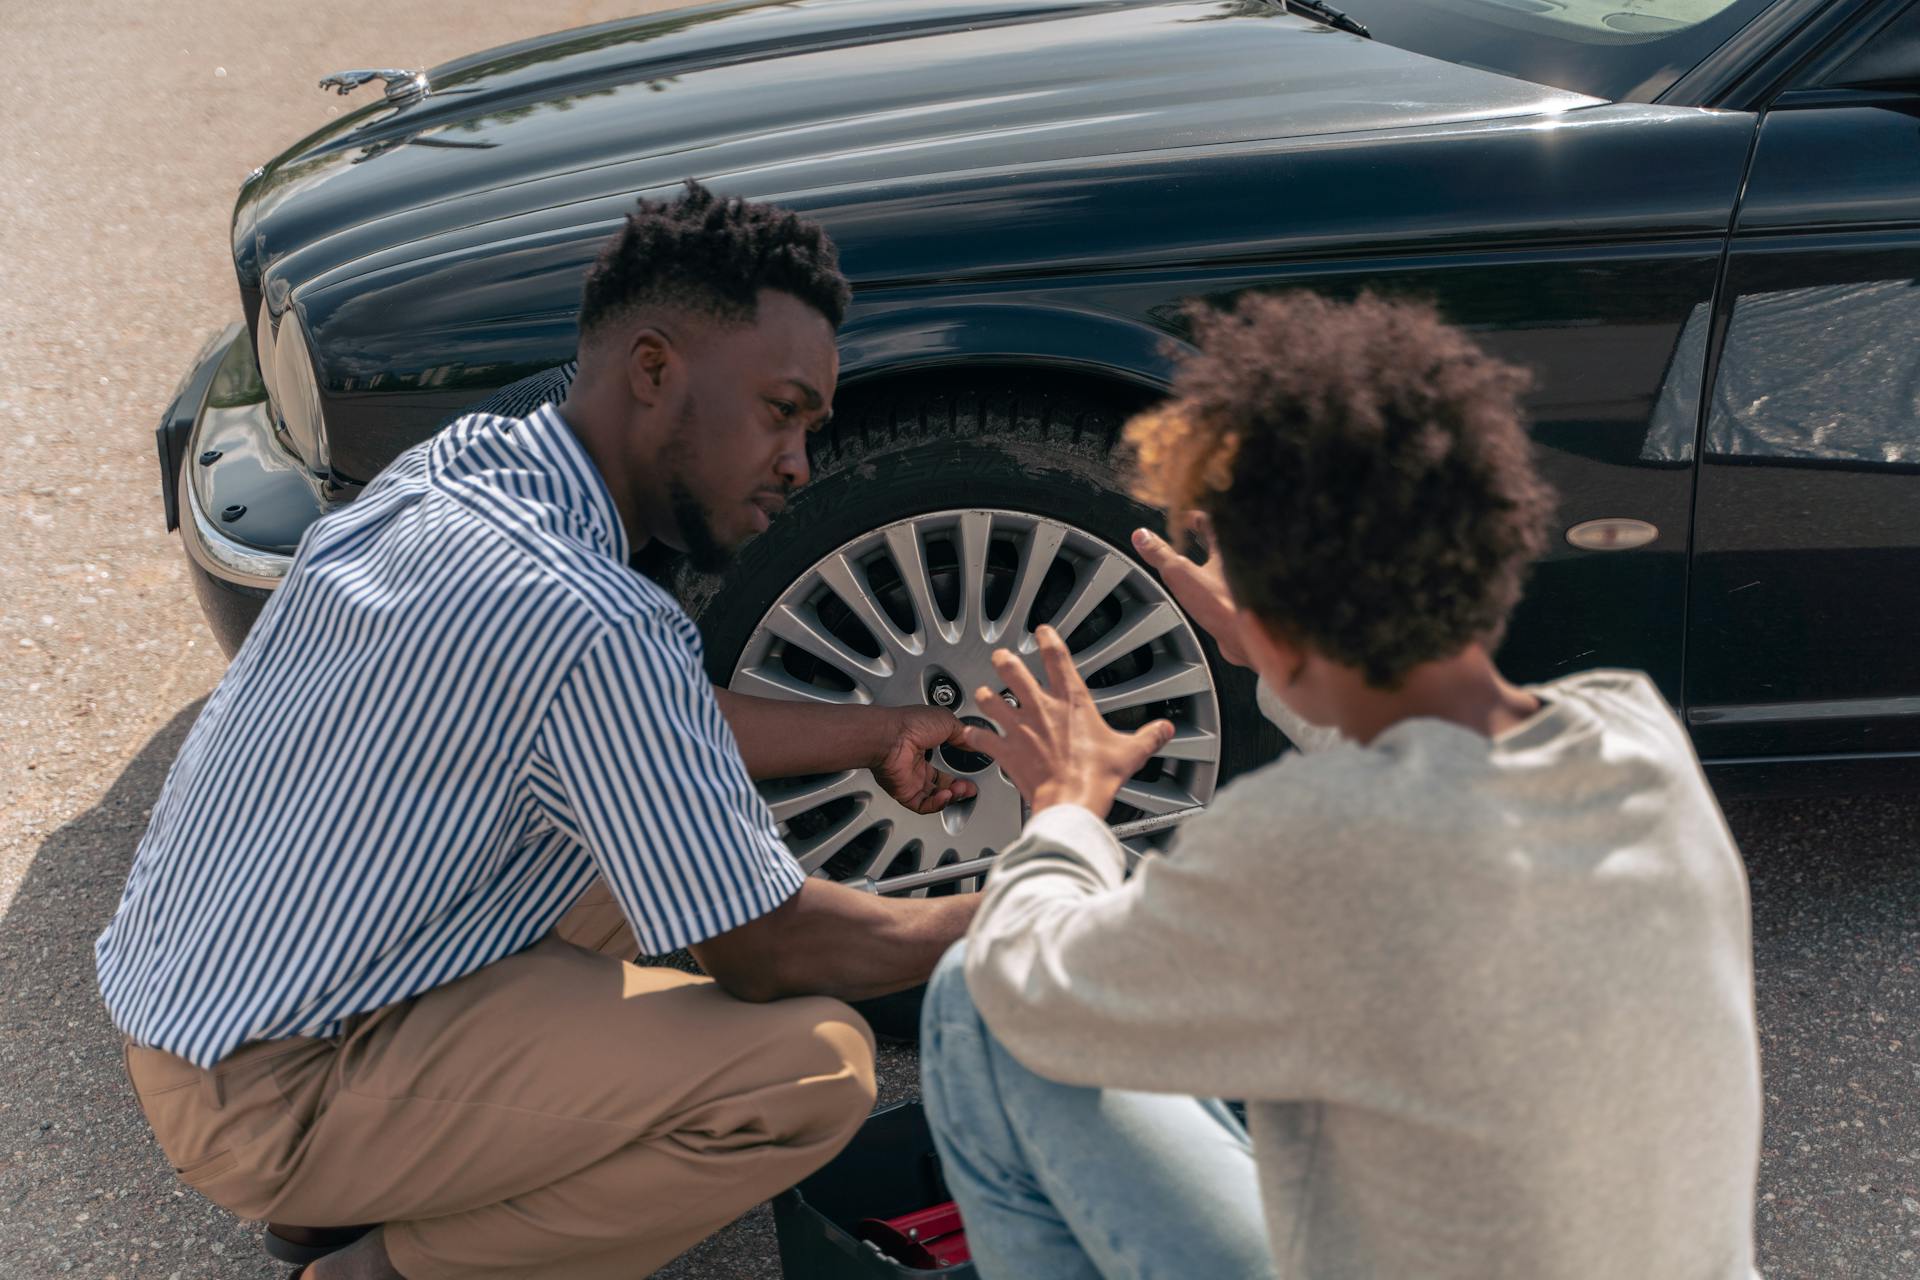
7. Mount the Spare Tire
Mounting the spare tire gets you closer to driving again. This step involves aligning and securing the spare onto the wheel studs.
Proper alignment ensures the spare fits securely for safe driving. Here’s how to mount the spare.
-
Align the spare. Lift the spare tire and line up its holes with the wheel studs on the hub.
-
Push it on. Slide the tire onto the studs until it sits flush against the hub.
-
Hand-tighten lug nuts. Screw the nuts back on by hand in a star pattern to hold the tire in place.
-
Check alignment. Ensure the tire is seated properly before lowering the car to avoid issues.
8. Lower the Car Safely
Lowering the car back to the ground is critical to secure the spare tire. This step requires careful operation of the jack to avoid sudden drops.
Lowering slowly ensures safety and protects the car’s undercarriage. Here’s how to do it.
-
Lower the jack. Turn the jack handle or crank counterclockwise slowly to bring the car down gently.
-
Ensure tire contact. Lower until the spare tire fully touches the ground, bearing the car’s weight.
-
Remove the jack. Slide the jack out carefully once the car is stable on the ground.
-
Double-check stability. Confirm the car is steady and the spare is secure before proceeding.
9. Tighten the Lug Nuts
Fully tightening the lug nuts secures the spare tire, ensuring safe driving until you reach a repair shop. This step is done after lowering the car.
Using the right technique prevents damage to the wheel or studs. Here’s how to tighten the nuts.
-
Use a star pattern. Tighten each lug nut with the wrench in a crisscross order for even pressure.
-
Apply firm force. Tighten until snug, using body weight if needed, but avoid over-tightening.
-
Check tightness. Ensure all nuts are secure, as loose nuts can cause the wheel to wobble.
-
Recheck after driving. After 50-100 miles, retighten the nuts to confirm they’re secure, costing $0.
10. Store Tools and Flat Tire
After changing the tire, properly storing your tools and the flat tire keeps your car organized and ready for repairs. This final step completes the process.
Storing items safely prevents damage and ensures readiness for future emergencies. Here’s how to wrap up.
-
Store the flat tire. Place the damaged tire in the trunk or spare tire compartment, securing it to avoid rolling.
-
Pack the tools. Return the jack, lug wrench, and other tools to their designated storage spots.
-
Clean up debris. Remove any dirt or tools from the work area to keep your car tidy.
-
Plan for repair. Take the flat tire to a shop for repair or replacement, costing $20-$200.
Conclusion
Changing a car tire is easy with these ten steps, from securing the vehicle to storing tools. Stay prepared for roadside flats and drive confidently. For expert help, our professional mobile tire change service in Detroit, Michigan connects you to trusted tire professionals 24/7. Get back on the road safely!