Using a tow bar to connect a towed vehicle, often called a “dinghy,” to a recreational vehicle (RV) is a practical way to bring along an extra vehicle for travel. Whether exploring campsites or embarking on a cross-country journey, a tow bar ensures mobility without sacrificing safety. However, incorrect setup can lead to accidents, vehicle damage, or legal issues. These nine detailed steps guide you through the process, ensuring a secure and efficient towing experience. By mastering these steps, you’ll tow confidently, keeping safety first.
Step 1: Position Vehicles on Flat Ground
Park both the RV and the towed vehicle on a level surface to ensure proper alignment and a stable connection. A flat area prevents strain on the tow bar and simplifies attachment, reducing the risk of instability during setup. Uneven ground can cause the vehicles to shift, complicating the process or damaging equipment. This foundational step sets the stage for a smooth towing experience.
Choose a spacious, flat location like a parking lot or a leveled campsite. Use a bubble level tool or a smartphone app, such as iLevel, to confirm the ground’s evenness. Engage the parking brakes on both vehicles to prevent rolling. If you’re in a remote area, scout for a flat spot before setting up camp. This precaution minimizes setup errors and ensures the vehicles remain stationary, making the connection process seamless.
Taking time to find flat ground can prevent issues like tow bar misalignment or uneven weight distribution. For frequent travelers, carry a small leveling kit to assess terrain quickly. If the only available spot is slightly uneven, use leveling blocks under the RV’s wheels, costing $20-$40, to stabilize it. This extra effort ensures a safer, more efficient towing setup.
Step 2: Measure Hitch and Base Plate Heights
Measure the height difference between the RV’s hitch receiver and the towed vehicle’s base plate, where the tow bar attaches. Ideally, they should be within 3 inches of each other to ensure a level tow, reducing stress on the tow bar and improving vehicle control. A significant height mismatch can cause the towed vehicle to tilt, leading to tire wear or handling issues.
Use a measuring tape to compare the height from the ground to the center of the hitch receiver and base plate. If the difference exceeds 3 inches, a drop or rise hitch adapter ($20-$50 at auto retailers) can level the setup. For example, a 20-inch hitch and a 14-inch base plate require a 6-inch drop hitch. Verify the adapter’s weight rating matches your tow bar’s capacity, found in the manual. Proper alignment enhances safety and fuel efficiency.
Incorrect height alignment can strain the tow bar or cause the towed vehicle to sway. If you’re unsure about adjustments, consult a towing professional or RV dealer for advice. Keep a small notebook to record measurements for future trips, saving time. This step ensures a balanced tow, protecting both vehicles and improving road stability.
Step 3: Secure the Tow Bar to the RV
Attach the tow bar to the RV’s hitch receiver, ensuring a firm, locked connection. Most tow bars slide into the receiver and secure with a hitch pin, forming the critical link between the RV and the towed vehicle. A loose connection risks detachment, posing serious safety hazards on the road.
Insert the tow bar’s shank fully into the receiver and secure it with a hitch pin, adding a clip or lock ($10 online) for security. Tug gently to check for wobble, tightening bolts if needed. Refer to the tow bar’s manual for model-specific steps, as some require additional locking mechanisms. Inspect the receiver for rust or damage, as wear can weaken the connection. A secure tow bar is essential for safe towing.
For first-time users, practice attaching the tow bar in a safe area to build confidence. If towing frequently, consider investing in a quick-connect hitch system for faster setups, costing $50-$100. Regular checks of the hitch pin and receiver ensure long-term reliability, preventing unexpected issues during travel.
Step 4: Align the Towed Vehicle
Position the towed vehicle directly behind the RV, within 5-10 feet, so the tow bar arms can reach the base plate easily. The vehicles should align in a straight line to avoid strain on the tow bar during connection or towing. Misalignment can cause the dinghy to track poorly, increasing wear or reducing control.
Drive or roll the towed vehicle into place, using a spotter to ensure accuracy. Engage the parking brake to keep it stationary. If the vehicle is slightly off-center, adjust by repositioning carefully, releasing the brake momentarily if needed. In tight spaces, patience is key to achieving a straight alignment. This step ensures a smooth connection process and stable towing.
Mark your usual parking spot with chalk or tape for consistent alignment on future trips. If towing in a busy area, communicate with your spotter using hand signals or a walkie-talkie for precision. Proper alignment reduces stress on the tow bar and enhances safety, making the subsequent steps easier and more effective.
Step 5: Connect the Tow Bar Arms
Extend the tow bar’s arms from the RV to the towed vehicle’s base plate, attaching them to the designated mounting points. Secure the arms with pins, bolts, or quick-release mechanisms, depending on the tow bar’s design. This step physically links the vehicles, enabling safe towing.
Follow the tow bar’s manual for precise attachment instructions, as models differ. Align the arm ends with the base plate’s brackets and insert pins, ensuring they lock securely. Pull gently on each arm to confirm stability. Clean the base plate and arms to remove dirt that could interfere with locks. Secure arms prevent swaying or detachment during travel.
If the arms don’t reach, reposition the towed vehicle slightly closer or adjust the tow bar’s extension settings. For frequent towing, consider a telescoping tow bar for easier adjustments, priced at $150-$300. This step is critical for a stable tow, ensuring the vehicles move as a unit without compromising safety.
Step 6: Prepare the Towed Vehicle
Set the towed vehicle for flat towing by configuring it according to the manufacturer’s instructions. For automatic transmissions, shift to neutral; for specific models, follow unique settings, such as transfer case adjustments for 4WD vehicles. Unlock the steering wheel to allow the front wheels to turn, ensuring the vehicle follows the RV’s path.
Consult the vehicle’s manual for towing mode details, such as disconnecting the battery to prevent drainage or setting a “tow mode” for vehicles like Jeeps. Close windows, turn off accessories like wipers, and ensure the parking brake is off (unless specified). Proper preparation protects the vehicle’s transmission and electrical system from damage during towing.
Test the setup by rolling the vehicle a few feet to confirm it moves freely. If you’re new to towing, practice in a parking lot to verify settings. Keep a checklist of prep steps in your phone’s notes app for consistency. This step ensures the dinghy tows smoothly, preserving its components and enhancing safety.
Step 7: Lock the Tow Bar Latches
Engage the tow bar’s locking latches to secure the arms, preventing disconnection during travel. These latches or locks ensure the arms remain rigid under road stresses, such as turns or sudden stops. A secure latch system is vital for maintaining towing stability.
Check the tow bar’s manual for specific latch instructions, as designs vary. Slide or click latches into place until they lock audibly, testing each by tugging the arms. Replace worn latches, costing $5-$15 at RV stores, to ensure reliability. Regular maintenance prevents failures that could endanger your tow.
Before each trip, inspect latches for wear, rust, or debris that could impair function. Lubricate moving parts with a light spray, like WD-40, to keep them smooth. Locked latches ensure the towed vehicle stays securely connected, even on challenging roads or during long journeys.
Step 8: Attach Safety Cables
Connect safety cables between the RV and the towed vehicle as a failsafe in case the tow bar disconnects. Required by law in many regions, cables prevent the dinghy from breaking free, protecting you and other drivers. Attach them to designated points, ensuring they’re taut but allow for turns.
Cross the cables under the tow bar to form an “X,” limiting swaying and containing the vehicle if detached. Cables cost $20-$40 at camping or auto stores. Inspect them for fraying or rust before each trip, replacing damaged ones. Properly installed cables ensure compliance with towing laws and add safety.
Hook cables to secure points, like the RV’s hitch frame and the vehicle’s base plate loops, avoiding loose ends that could drag. Test tension by gently pulling to ensure they’re secure but flexible. This step provides peace of mind, knowing your tow is backed by a reliable safety measure.
Step 9: Connect the Wiring Harness
Plug in the wiring harness to sync the towed vehicle’s brake lights, turn signals, and tail lights with the RV’s electrical system. This ensures visibility and compliance with traffic laws, reducing the risk of rear-end collisions or fines. A properly wired dinghy is essential for safe towing.
Connect the harness from the RV’s electrical outlet (near the hitch) to the towed vehicle’s wiring port, often pre-installed with the base plate. Test all lights with a spotter to confirm they work. If incompatible, use a universal harness ($30-$50) for compatibility. Secure wires with zip ties to prevent dragging or damage.
If lights fail, check connections or fuses in the vehicle’s manual. Test the harness before each trip, especially for night or bad-weather driving. Regular maintenance ensures consistent visibility, keeping your tow legal and safe on the road.
Additional Tips ON how to use a tow bar
- Verify Weight Limits: Ensure the towed vehicle’s weight, including cargo, stays within the tow bar’s and RV’s capacity, checked via the manual or a weigh station.
- Inspect Equipment Regularly: Examine the tow bar, towing hitch, and cables for wear before each trip to prevent breakdowns.
- Practice in a Safe Area: Test your setup in a parking lot to master handling, turning, and braking before long trips.
- Drive Conservatively: Increase following distance and avoid sudden moves, as towing affects braking and stability.
- Check Local Regulations: Some areas require auxiliary brakes or specific lights for towed vehicles; verify via the DMV or towing websites.
Conclusion
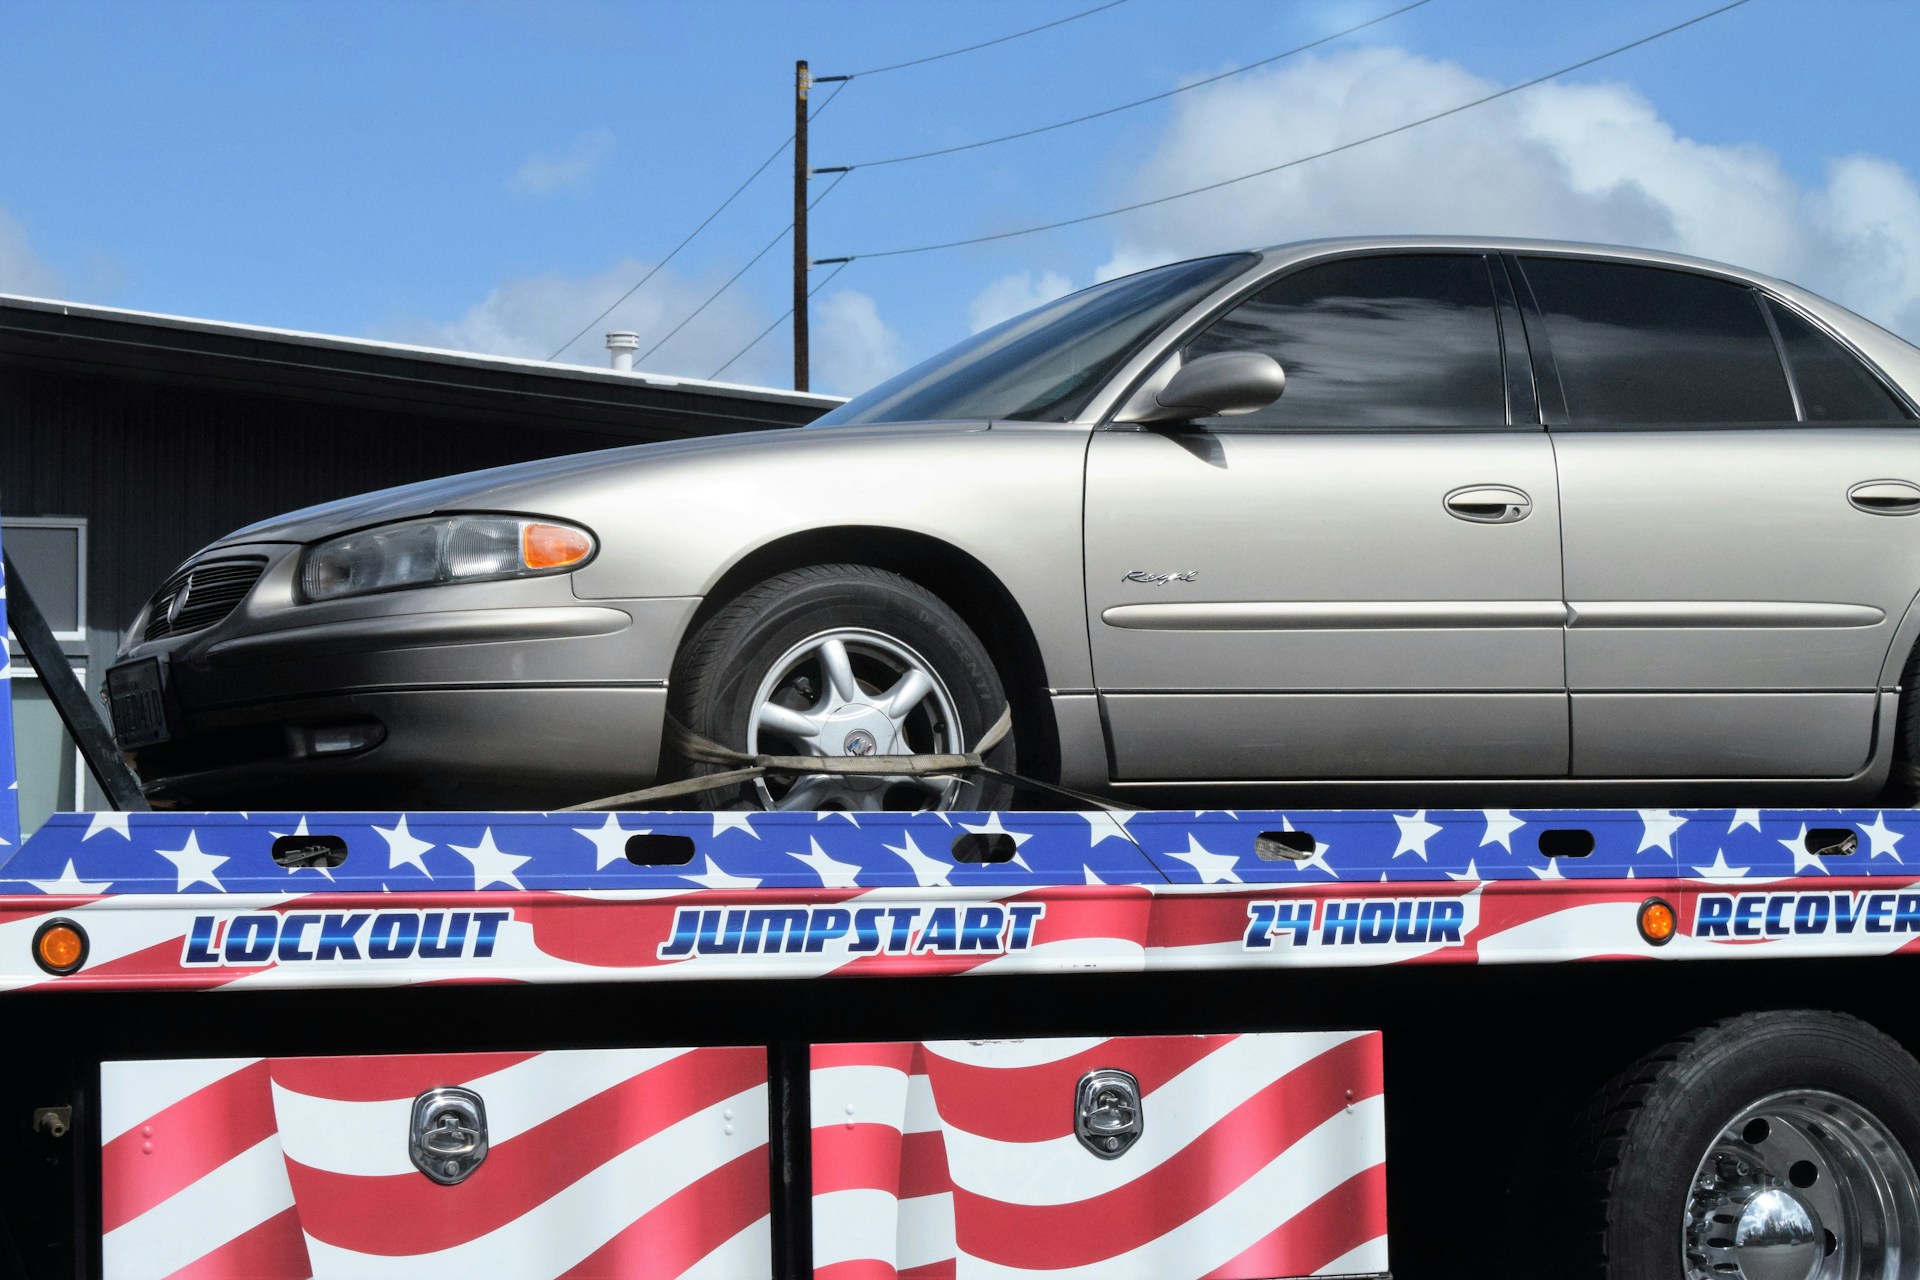
These nine steps, from parking on flat ground to connecting the wiring harness, ensure a safe, efficient tow bar setup for your RV travels. Each step, from aligning vehicles to securing safety cables, builds a reliable towing system. Start by familiarizing yourself with your equipment and practicing in a safe area. For professional towing needs, our $40 professional towing service offers expert support to ensure your setup is secure and road-ready. With these detailed steps, you’ll tow with confidence, prioritizing safety and enjoying your journey worry-free.